TOOLS - RoboDog and it's Tutorial
Main menu:
TOOLS
TOOLS USED TO MAKE ROBODOG
Click on any of the pictures. These are the tools I had to buy to create the Robodog. I am including the prices I paid of them to get an idea of what I spent to make it. Each of the other pages have specific tools I also used for that particular part. (If that makes sense):
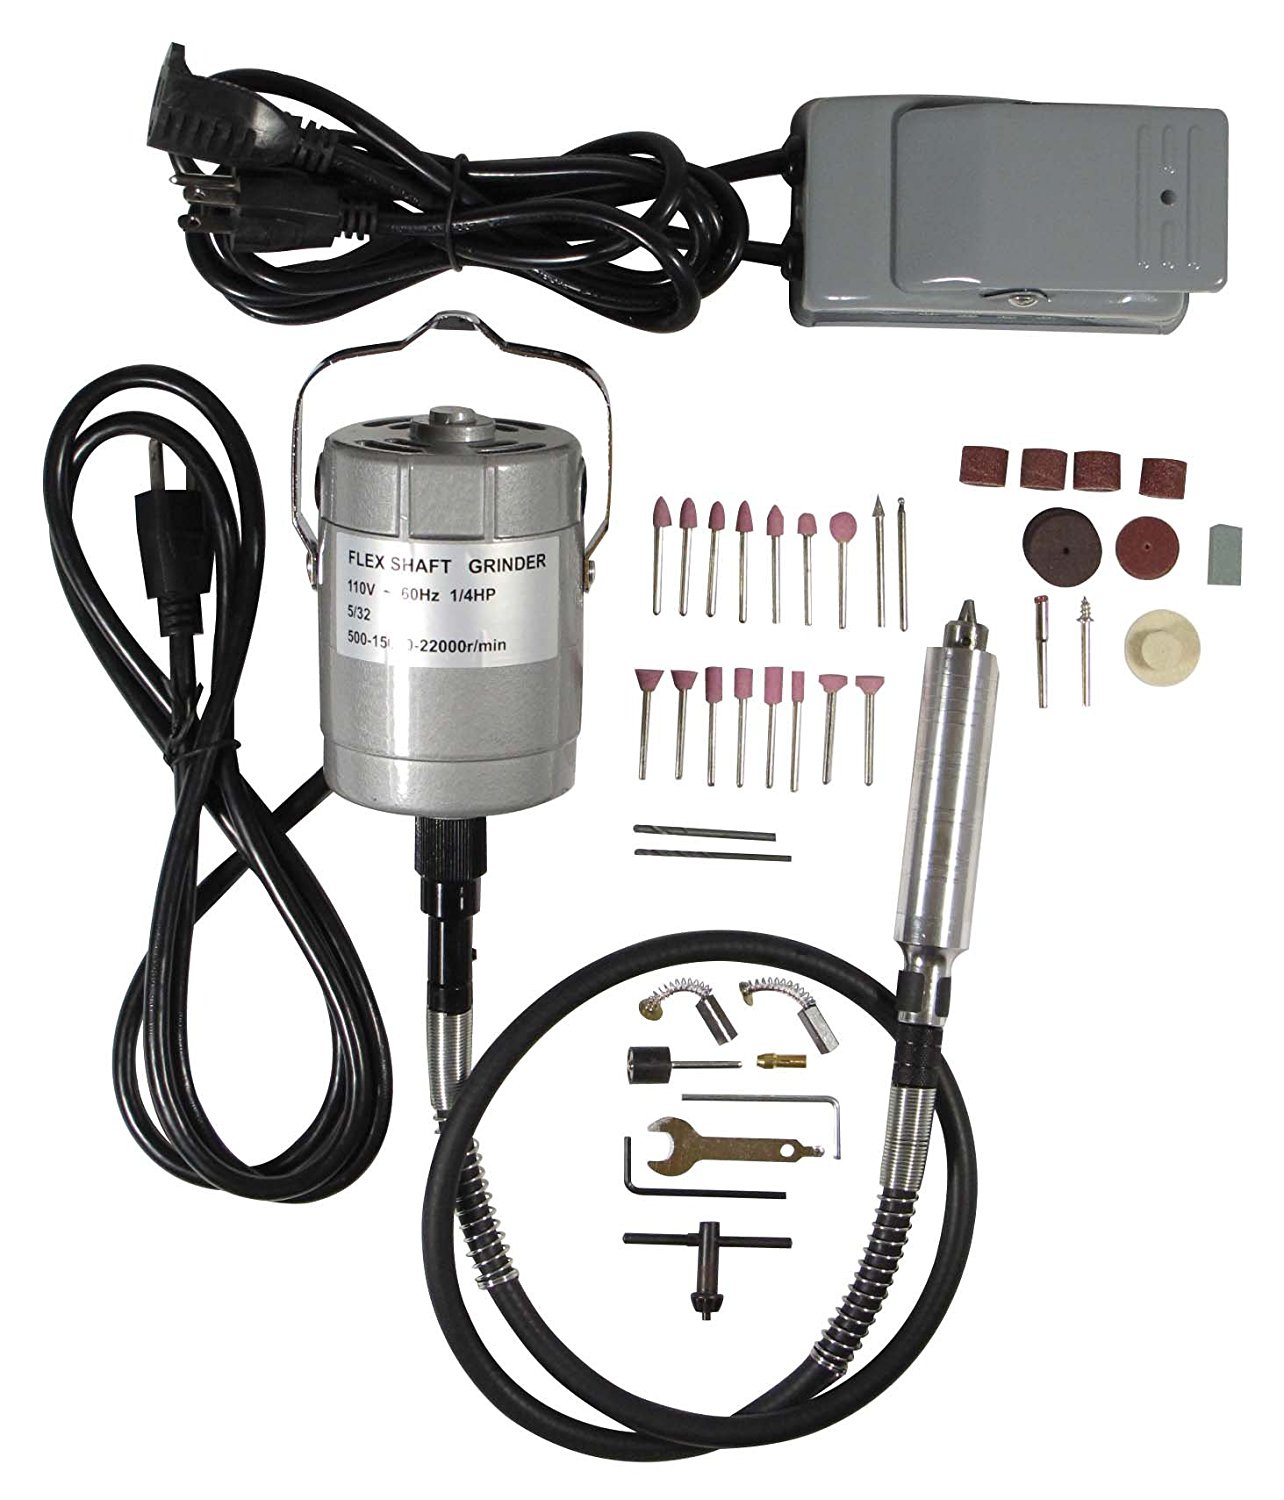
Flexible Shaft Rotary Tool (with foot controller): $50
Safety Glasses: $2 (WORTH IT!!)
20” x 20” clear plastic acrylic, for “dust box”: $13
Sandpaper (Wet/Dry 600 Grit): $2
Cross-
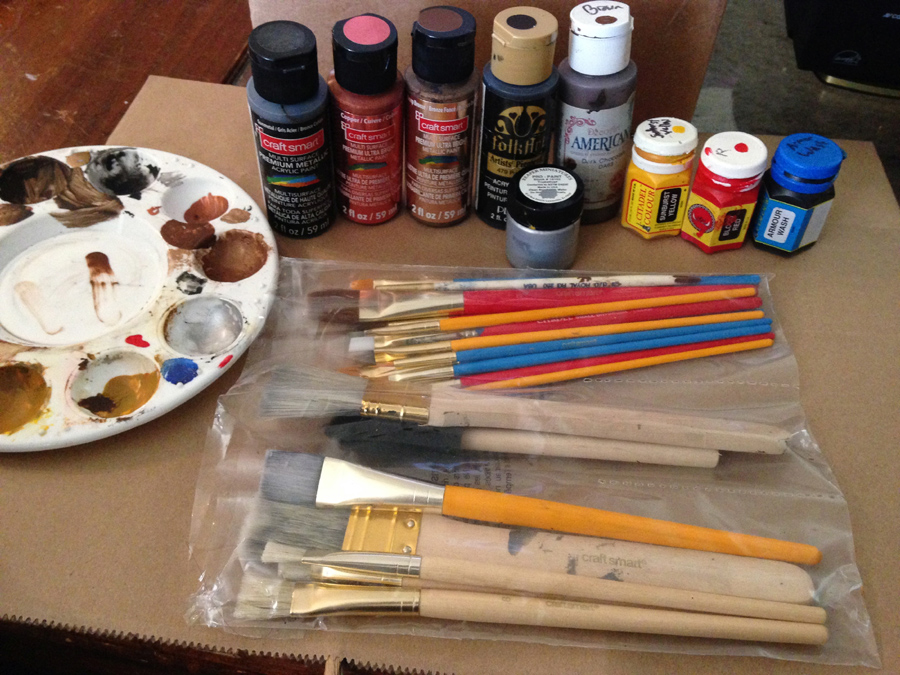
Cut Needle File Sets (Large and Tiny versions): $10Paint Brushes (various sizes): $5
Hand Paints to paint the Mask: True Silver, Gunmetal, Copper, Bronze, Black, Chocolate Brown, Sunburst Yellow, Blood Red, Amour Wash: $20
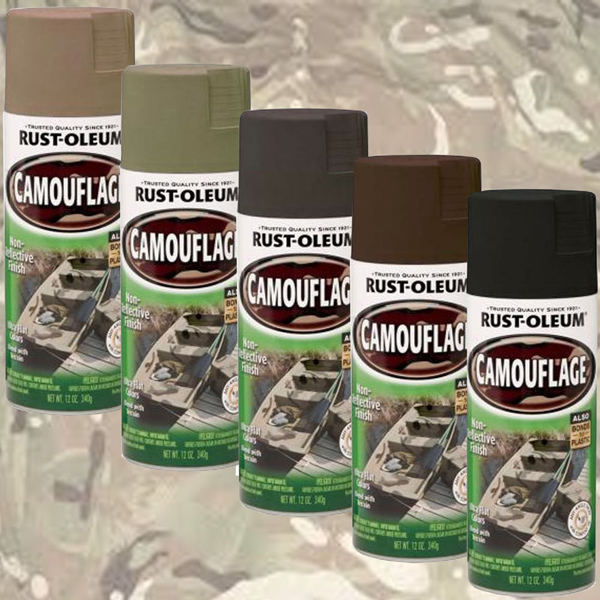
Spray Paints to "Dirty up" the Coveralls: Nutmeg, Red Primer, Smokey Beige, Grey Primer, Flat Black, Zinc, Satin Clear, Frosted: $40
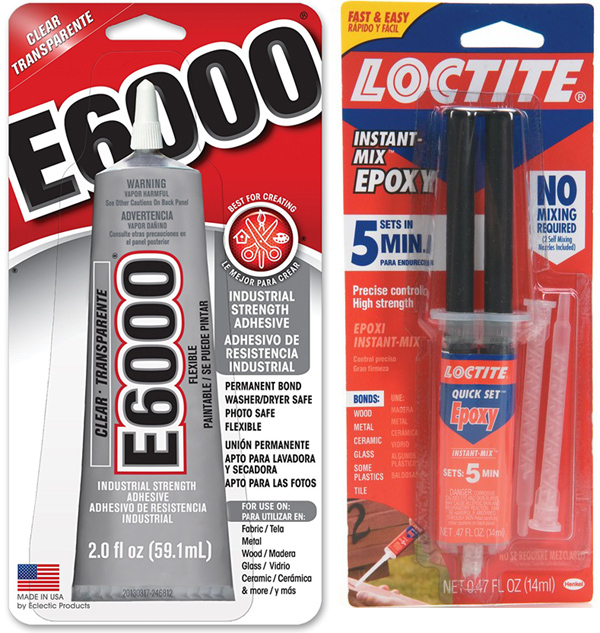
E6000 Adhesive: $8
Loctite 5-
Minutes Adhesive: $8A Heat-
Gun: (I already had one but they run around $20-$150)
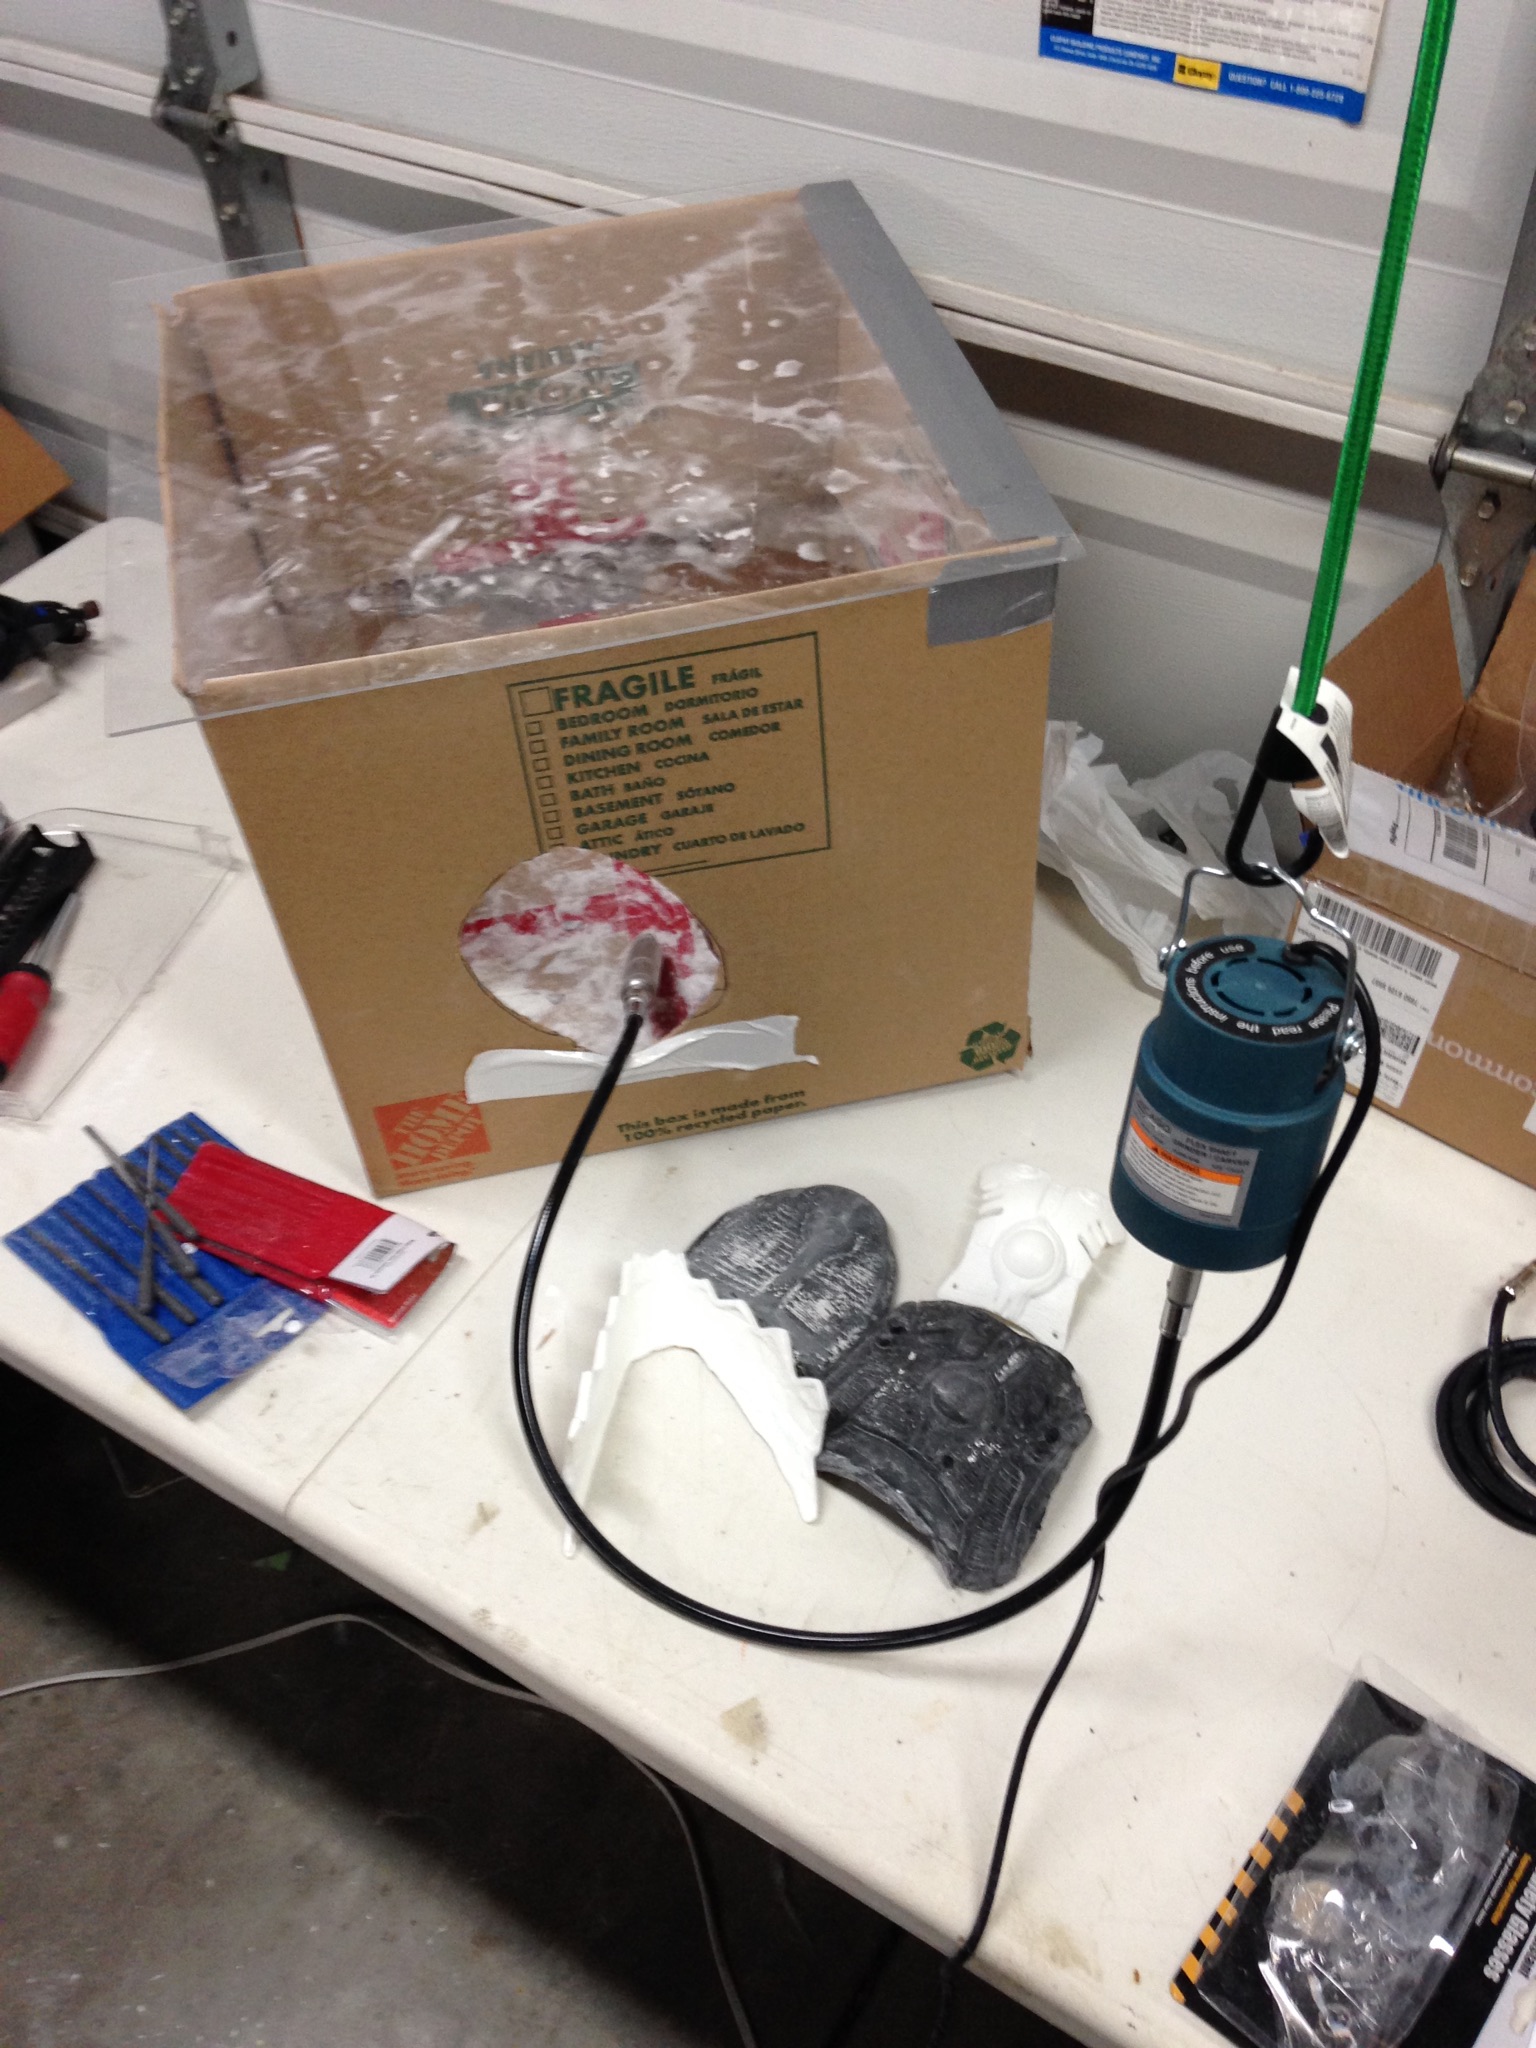
To the right is the work area set up that I made.
The rotary tool hung from the top of the garage door, out of the way. It is one that has a "snake head" on it for grinding in detail.
I also made a "SANDBLASTER BOX" aka "Dust Box" This is the BEST idea to keep a mess from happening! All it is is a large box, clear acrylic top (from Tap Plastics), duct tape to hold the top down on one side, and duct tape on two holes I cut on the corners (this helps with the box not wearing down where your arms lay while working, and keeps you from getting box cuts).
When you are done with what are you griding, you can take a vaccuum and clean it up easily and start over again. Volia!