| |
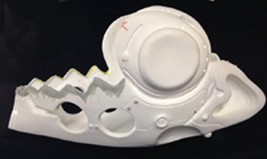
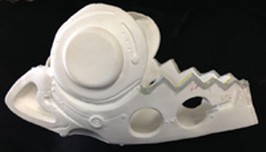
RAW MASK |
|
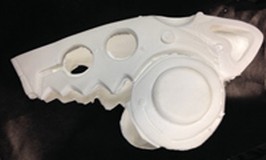
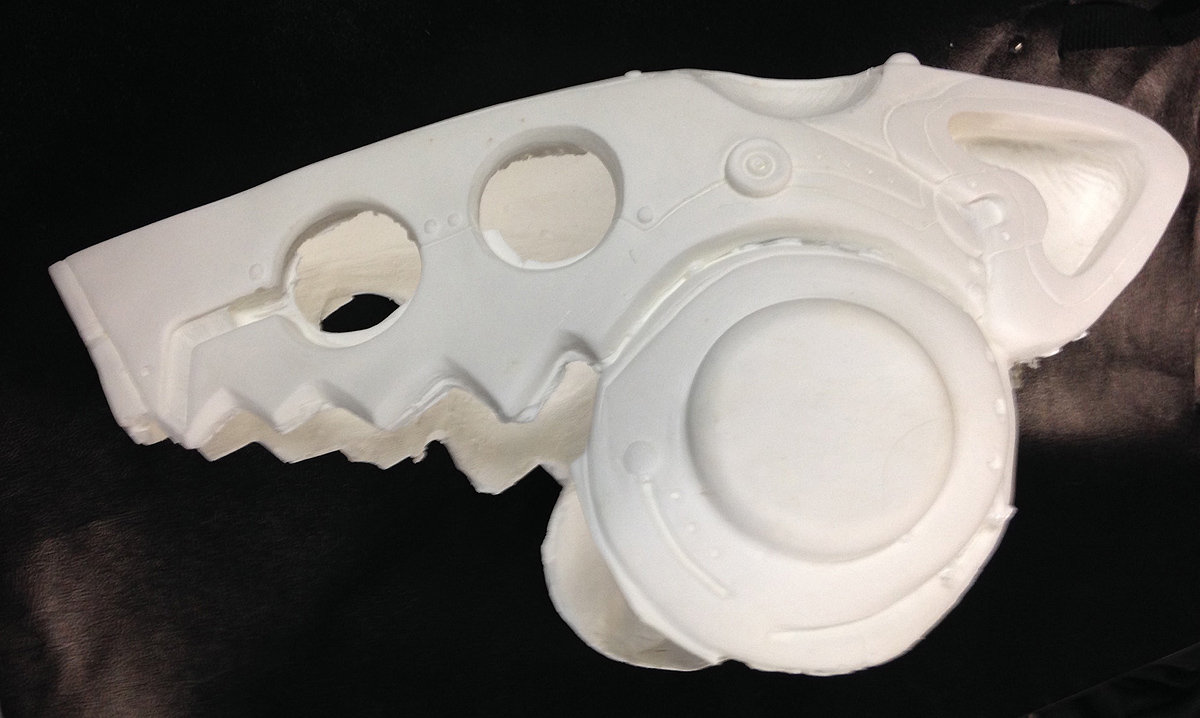
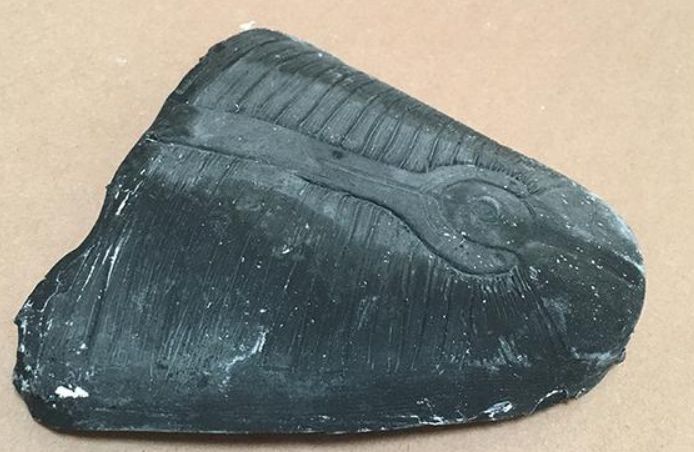
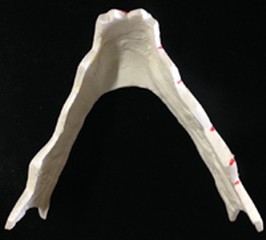
This is the raw mask as I got it in the mail. Note that it has a lot of "Flash" (thin pieces of plastic that you need to remove) to make it nice and neat. Using a rotary tool is the easiest way to do this.
|
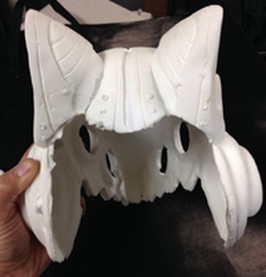
 This shows the inner part of the top of the mask. Note that it is a bit twisted. This shows the inner part of the top of the mask. Note that it is a bit twisted.
|
 This shows the back of the top of the mask. This also shows "Flash" that you need to remove. This shows the back of the top of the mask. This also shows "Flash" that you need to remove.
|
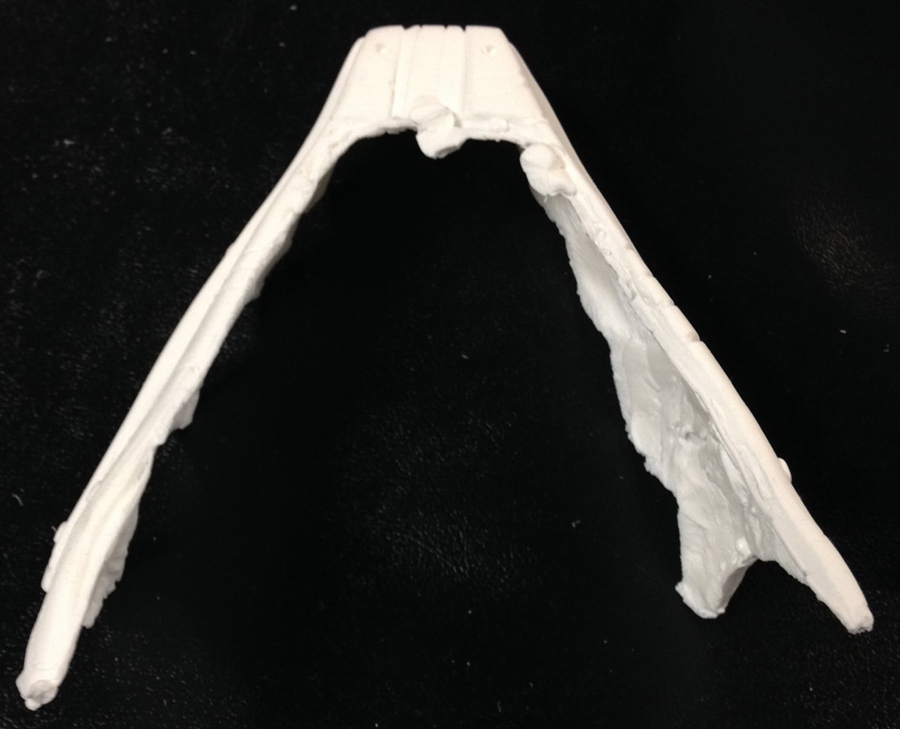
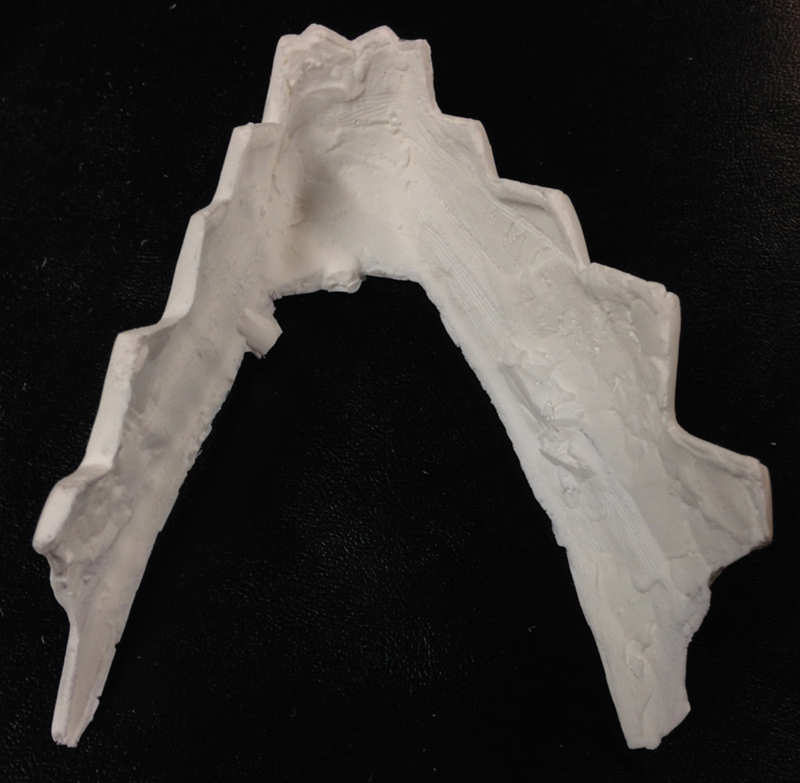
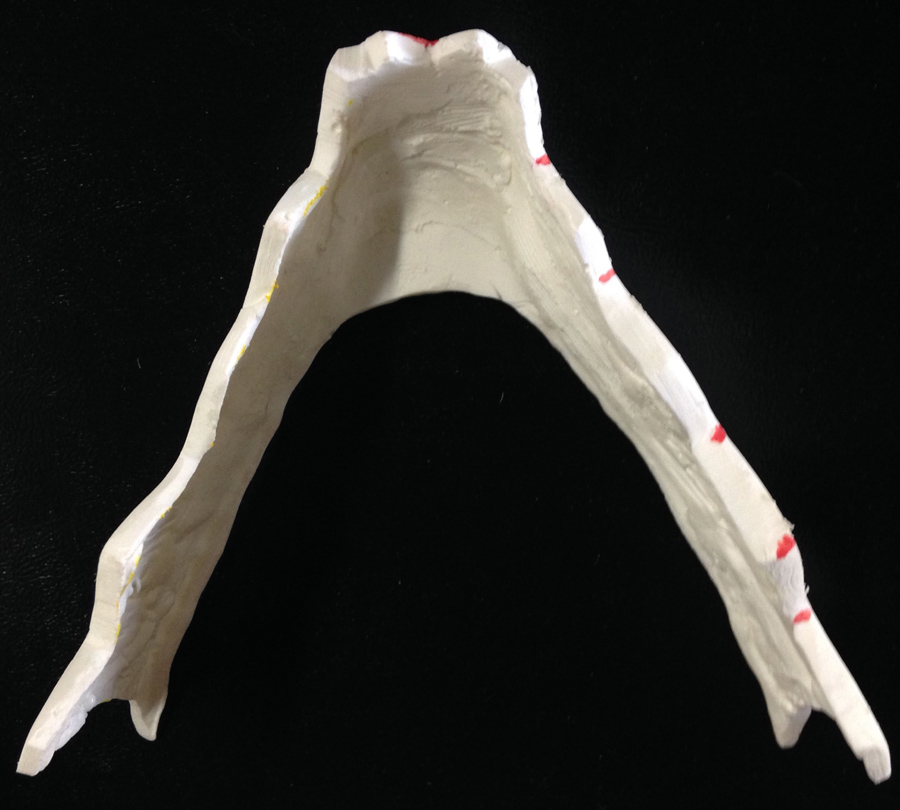
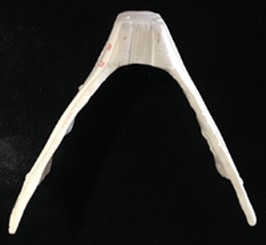
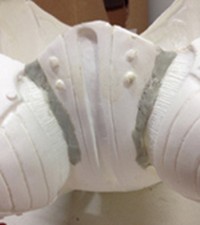
 This is the bottom of the lower jaw. Note that this is very twisted, and requires a lot of "heat bending" with a heat gun to align it with the top jaw. This also shows "flash" that needs to be removed. This is the bottom of the lower jaw. Note that this is very twisted, and requires a lot of "heat bending" with a heat gun to align it with the top jaw. This also shows "flash" that needs to be removed.
|
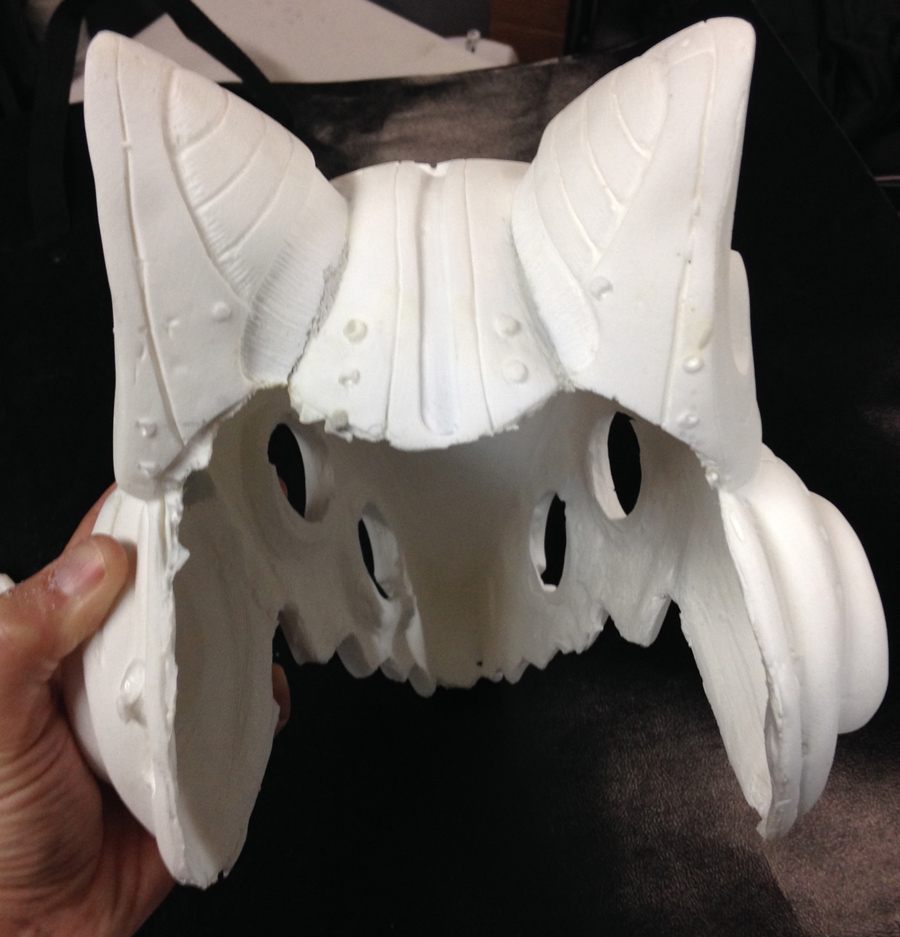
 This shows the inner part of the lower jaw. This also shows that it is twisted. At this point the teeth did not match up with the upper jaw. This also shows "flash" that needs to be removed. This shows the inner part of the lower jaw. This also shows that it is twisted. At this point the teeth did not match up with the upper jaw. This also shows "flash" that needs to be removed.
|
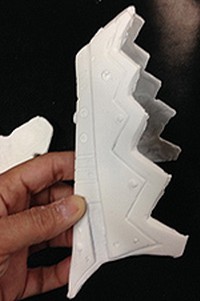
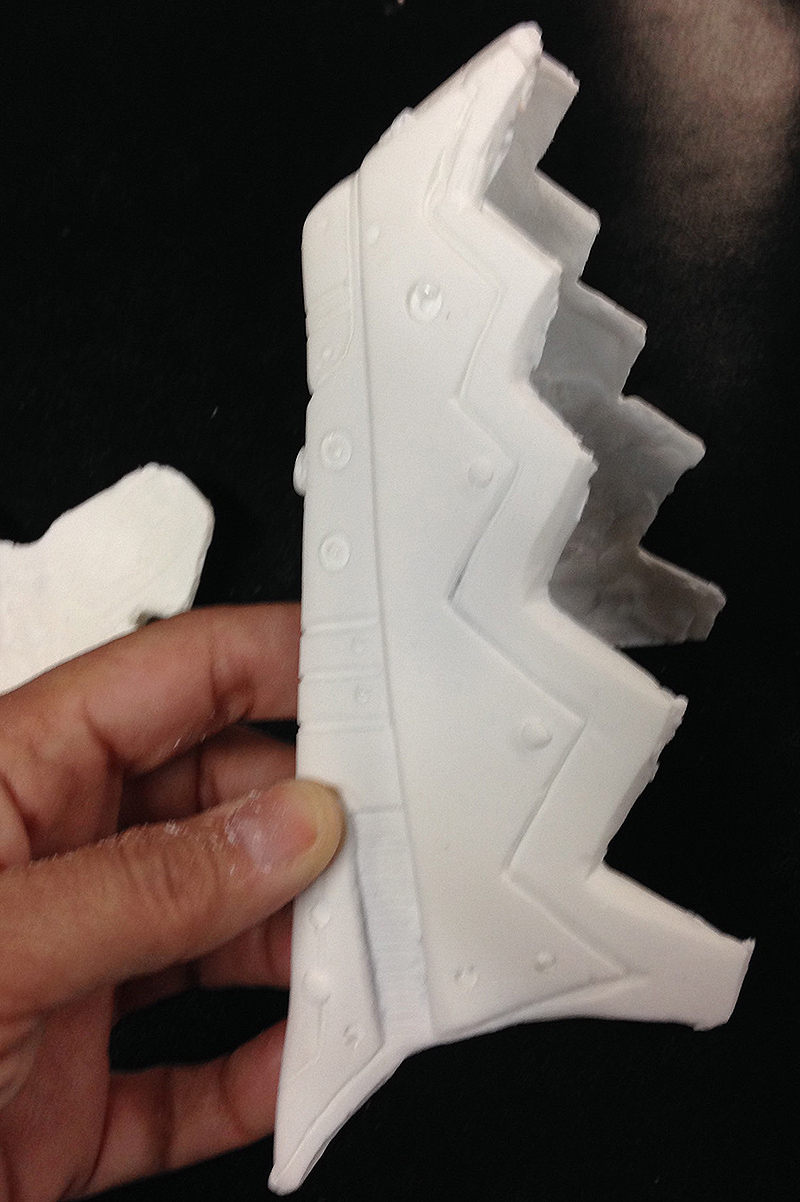
This is the side of the lower jaw. Note that it still has all the "Flash" that needs to be removed, and those teeth need to be sharpened!
|
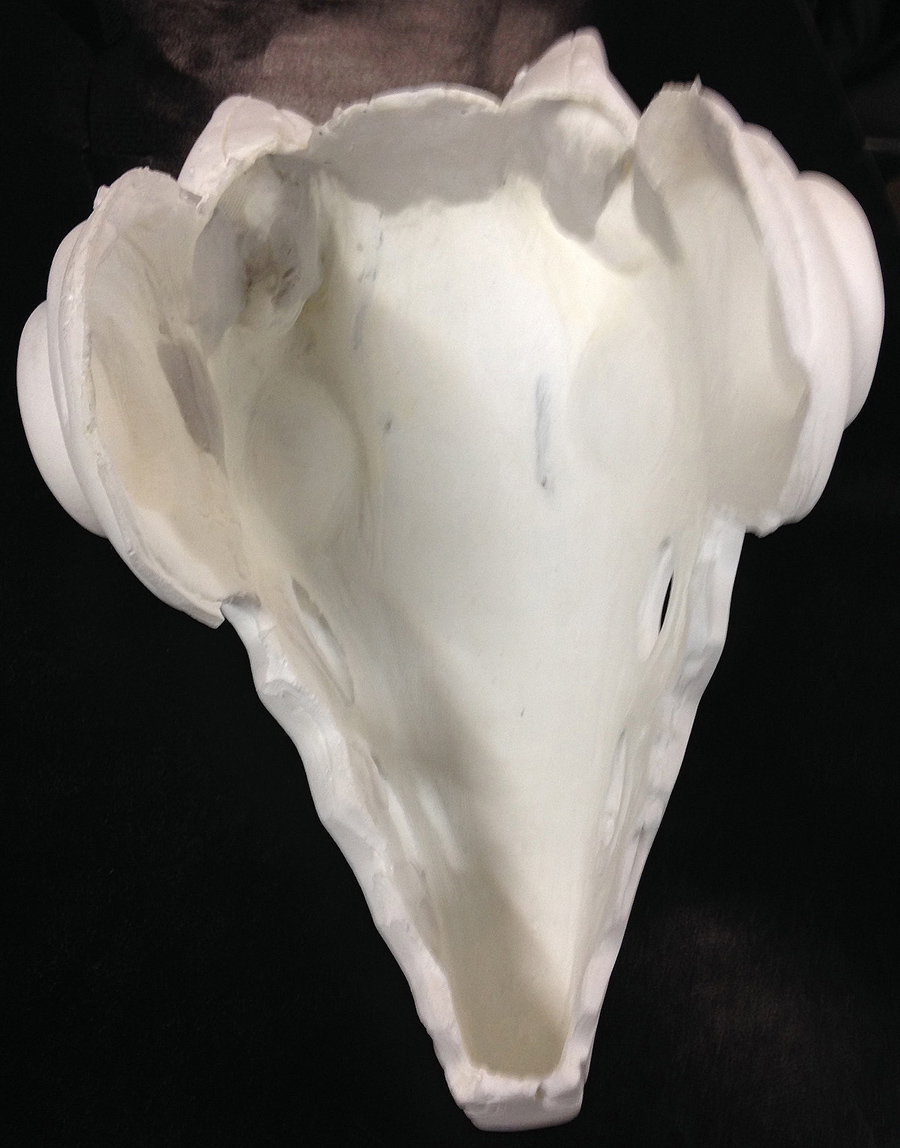
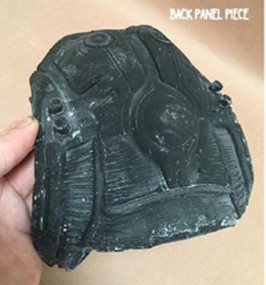
This shows the inner part of the back piece of the head. It needed to be smoothed out and heat-bent.
|
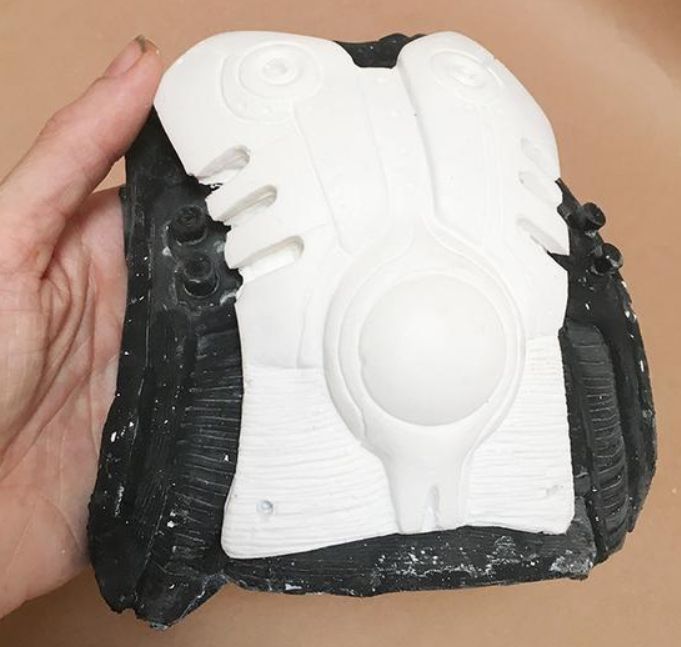
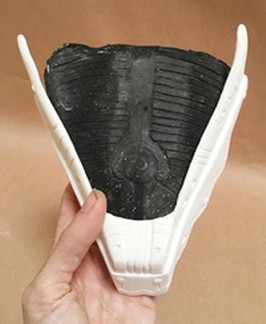
 This shows the white plastic piece on top of the rubber back piece. (shows rough) This shows the white plastic piece on top of the rubber back piece. (shows rough)
|
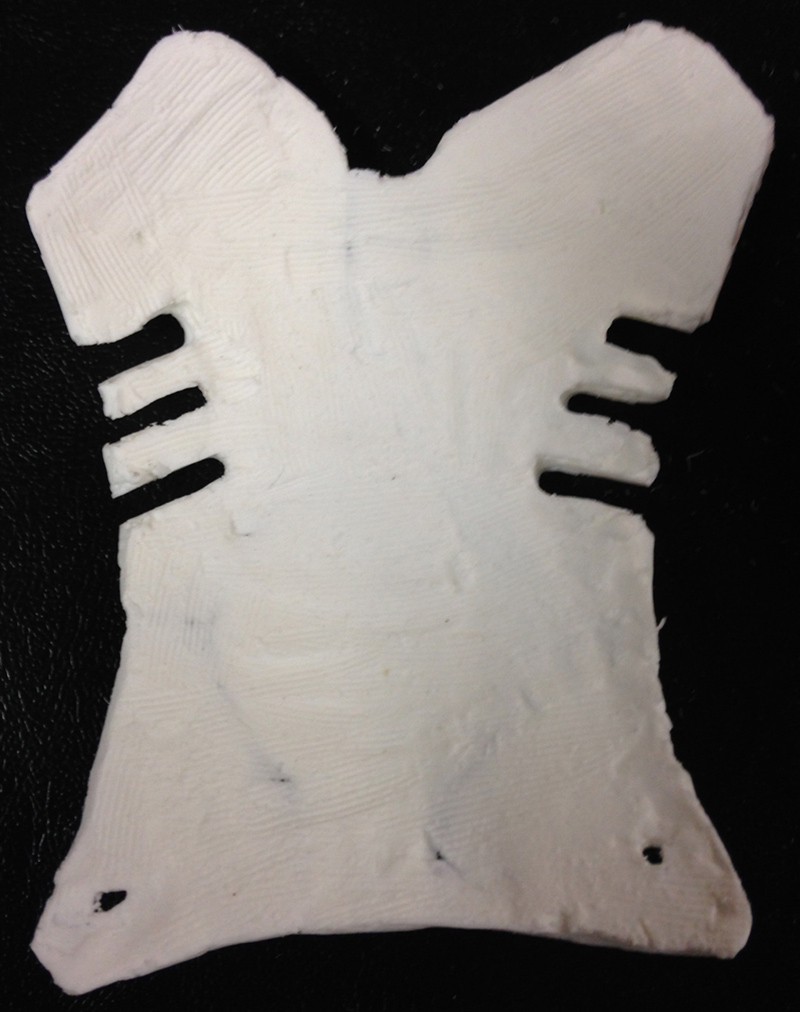
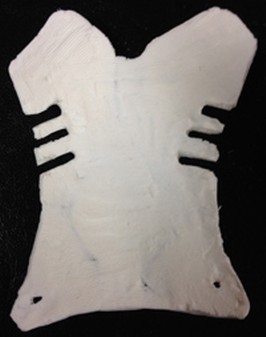
 This shows the rubber back piece. It is rough and needs to be trimmed and smoothed. (Make sure you wash this piece) This shows the rubber back piece. It is rough and needs to be trimmed and smoothed. (Make sure you wash this piece)
|
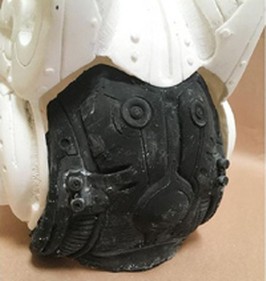
This shows how the black rubber piece goes on the mask. It does not match up completely, but with paint and the white piece on top of this is good.
|
 This is a rubber piece that goes under the human jaw. (Make sure you wash this piece) This is a rubber piece that goes under the human jaw. (Make sure you wash this piece)
|
 This shows the rubber piece goes under the plastic jaw. It may require to be split. This shows the rubber piece goes under the plastic jaw. It may require to be split.
|
| |
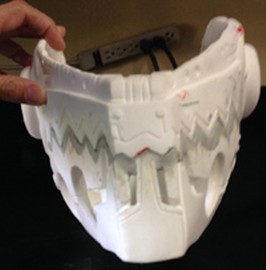
CLEANING MASK |
|
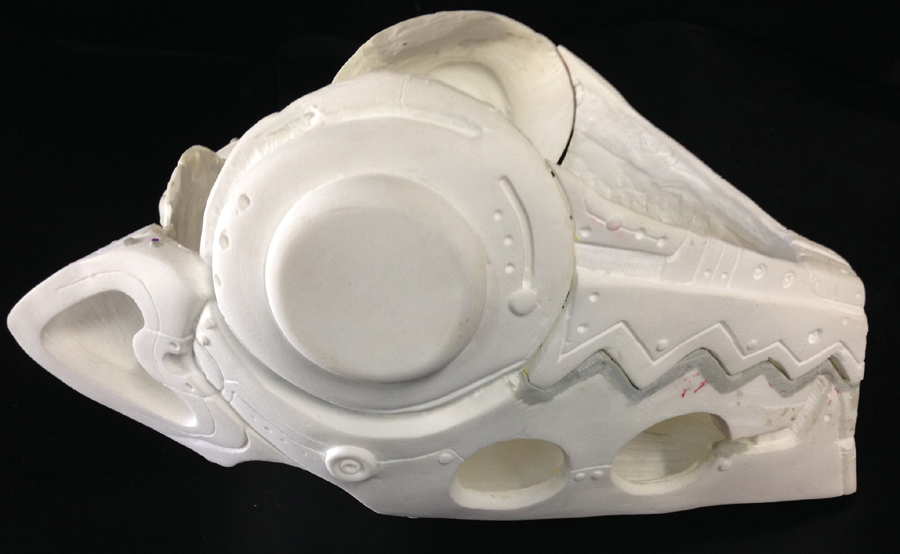
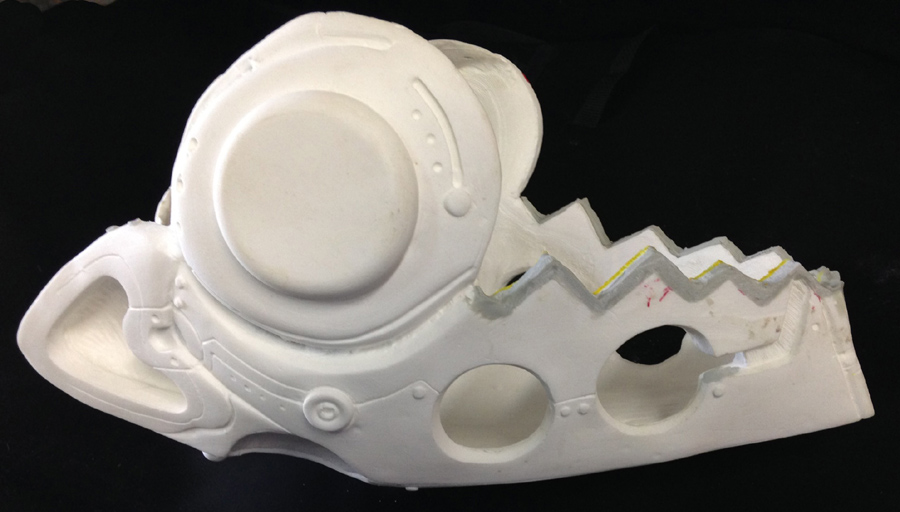
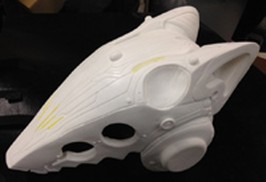
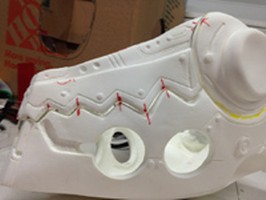
This is the right photo of the mask. It is after I cleaned it up, and was cutting the marks that are in yellow.
|
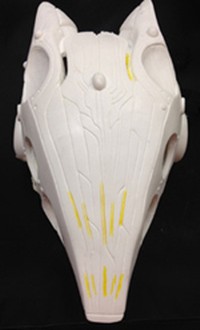
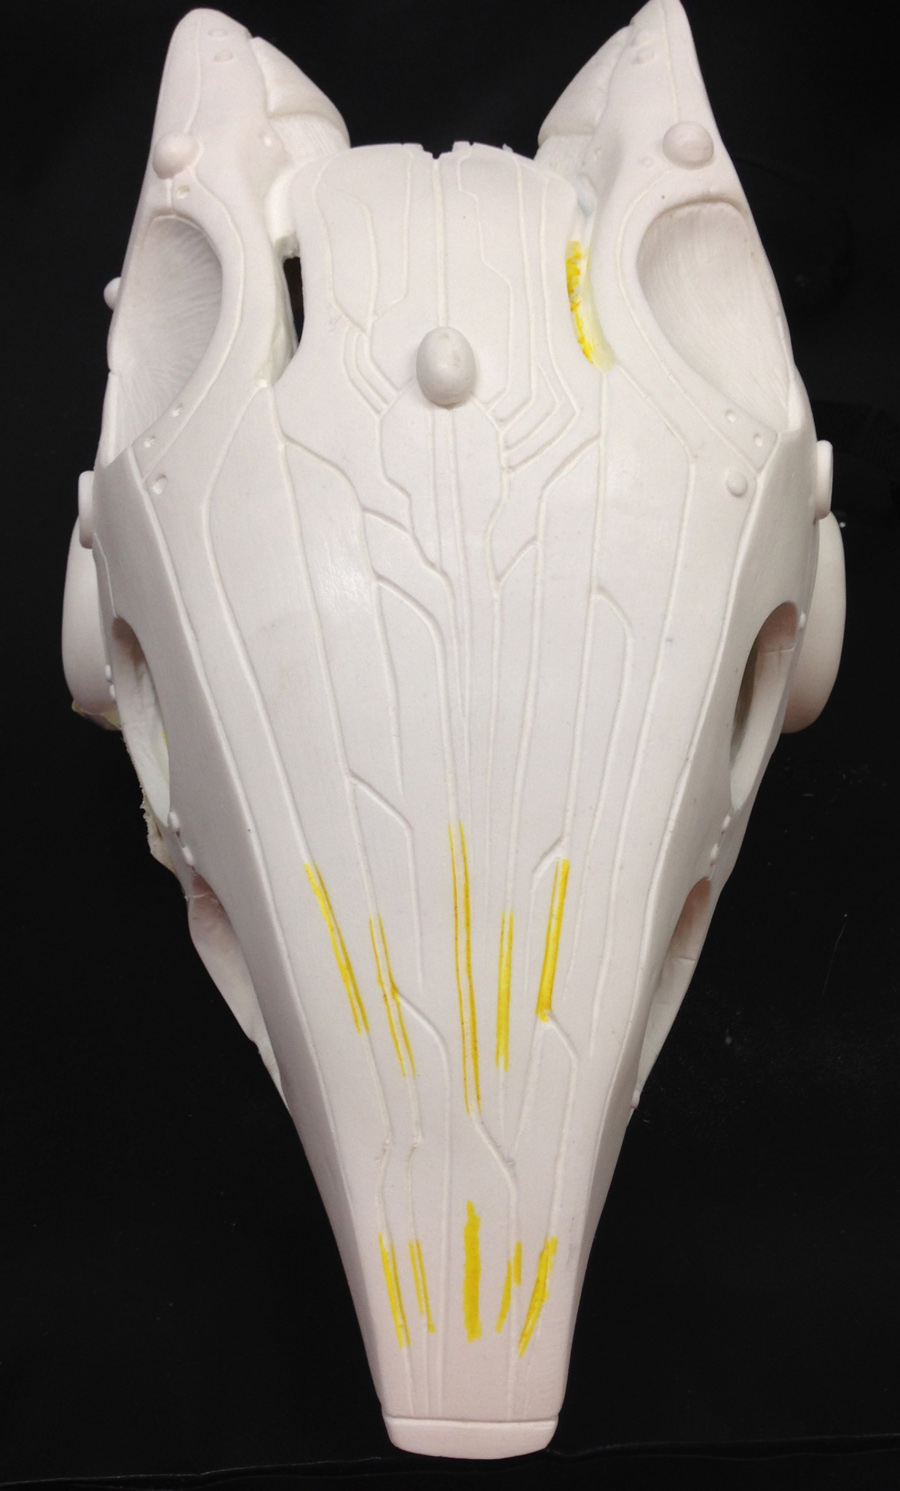
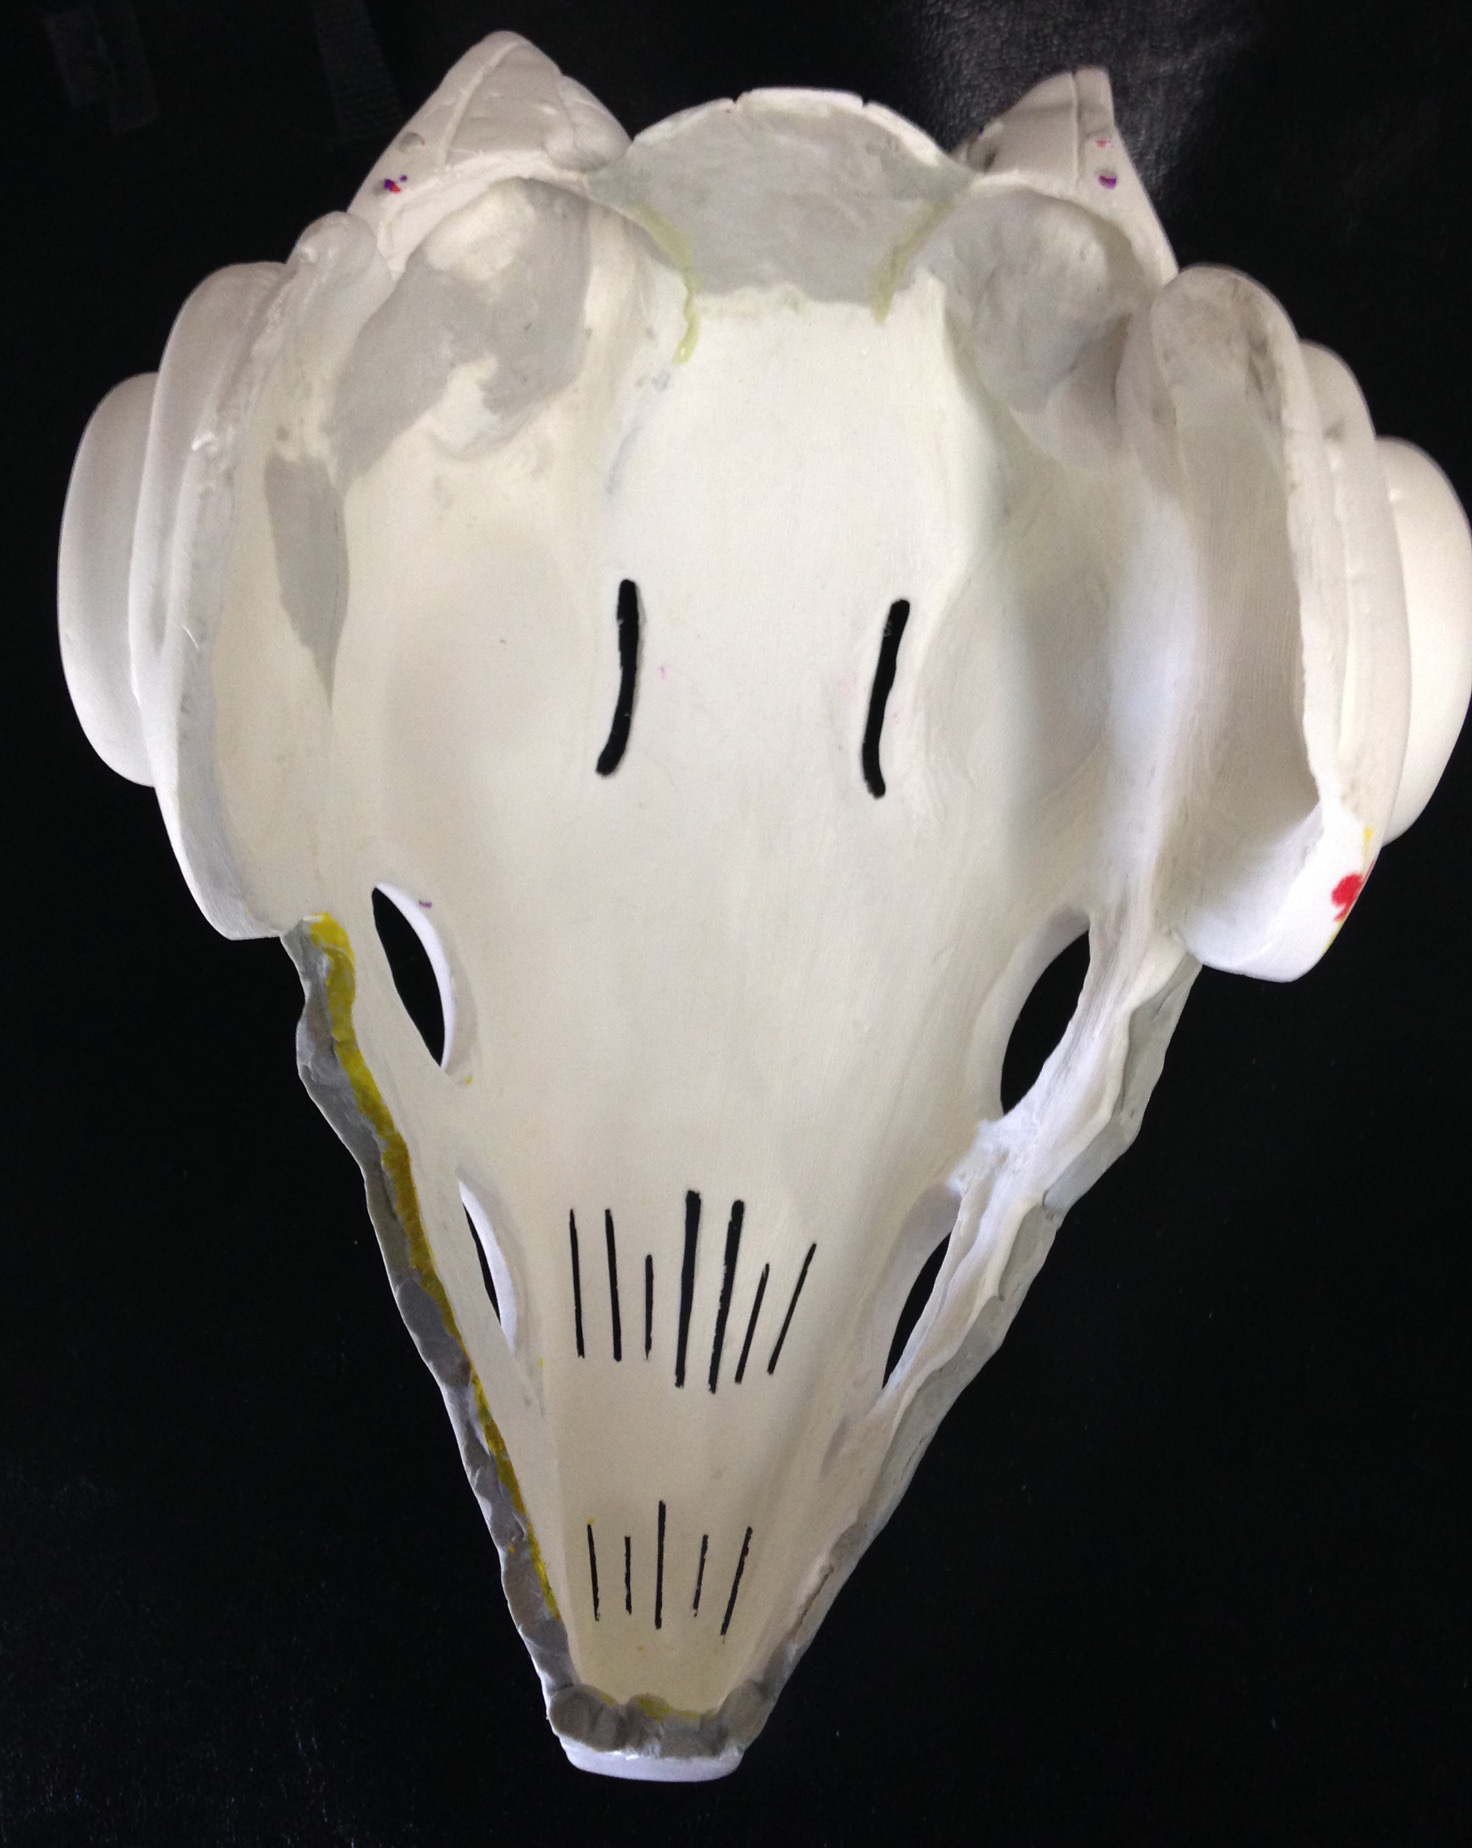
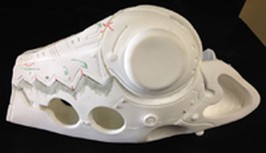
This is the top photo of the mask. It is after I cleaned it up, and was cutting the marks that are in yellow. If I do this again, I would have backed them up a tiny bit.
|

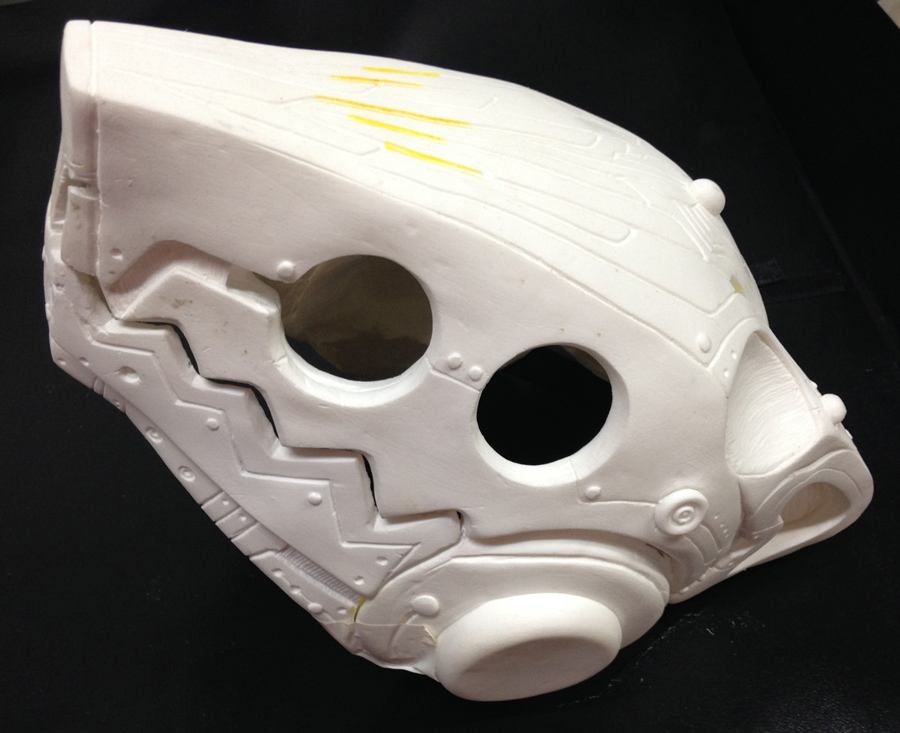
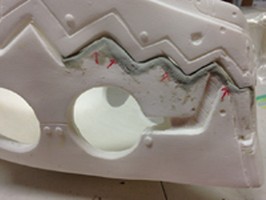
This shows the eyes and teeth are all cleaned up. Those teeth are almost 100% good. The yellow marks are where I will cut to look out of as well.
|
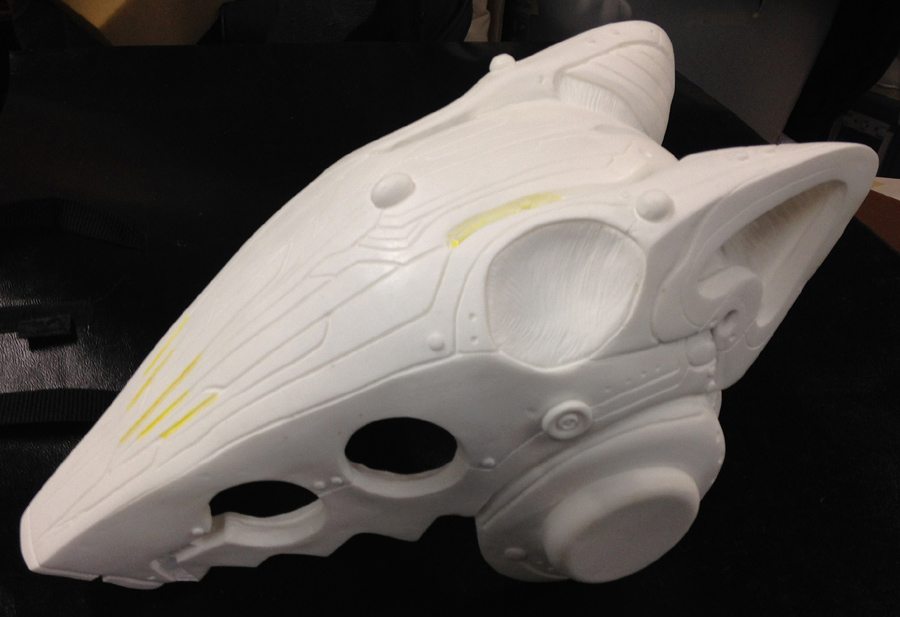
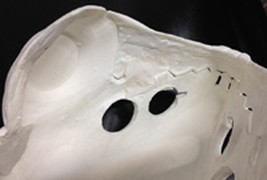
This shows the eyes cleaned up. It also shows yellow marks where I will cut.
|
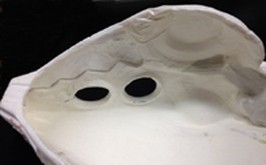
This shows that the left inner part of the mask lines up pretty well. Also nose that I cut the nostrils of the nose out to look out of.
|
Note that the teeth do not quite line up in this picture of the inner right part of the mask.
|

The top of the mask after all heat-bending and cleaning up and part of the top wher I cut the vent, but wasn't quite done yet.
|
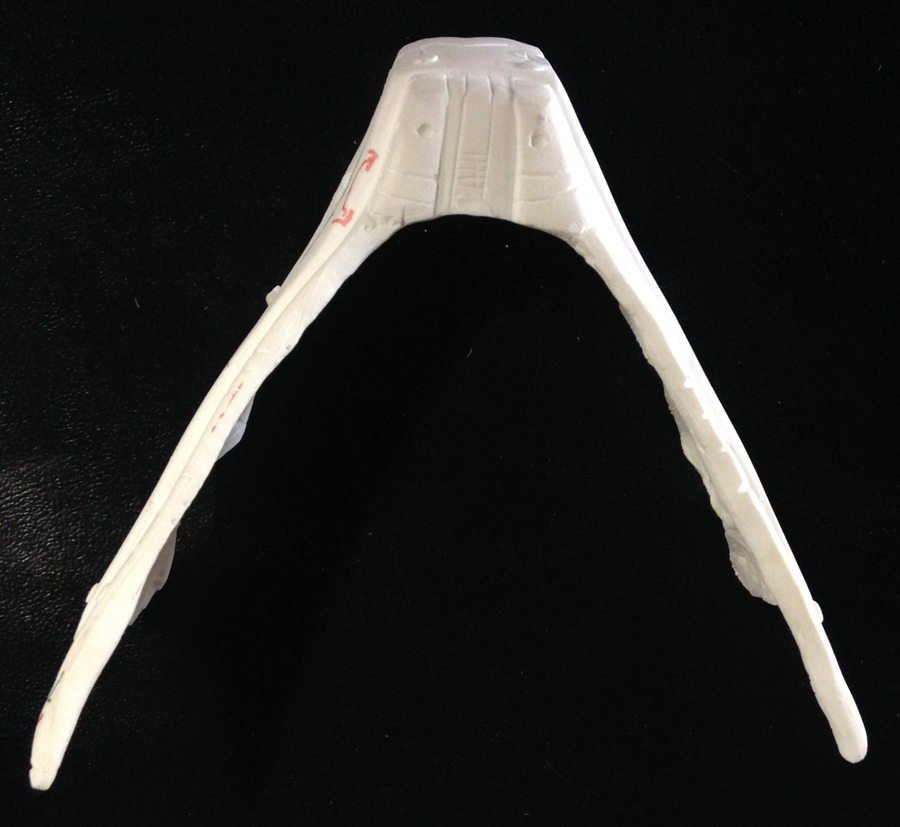
This shows the inner part of the bottom jaw after heat-bending, and it is as centered as I could get.
|
This shows the bottom of the lower jaw after heat-bending, and it is as centered as I could get.
|
| |
PUDDYING MASK |
|

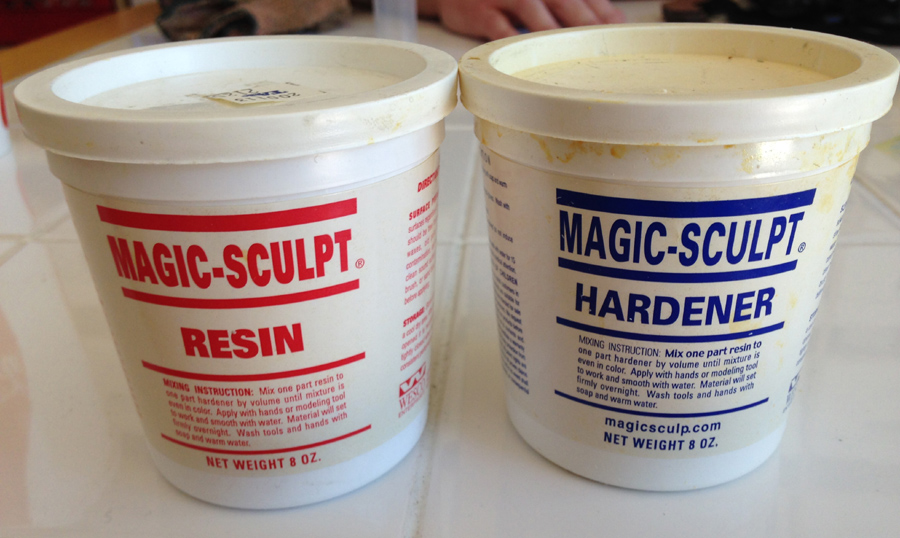
This is the puddy "Magic-Sculpt" I used to fill in parts that were too thin. Or even better, sharpen those teeth! This is found at Tap Plastics. It takes about 24 hours to completely dry.
|
This is the mask heat-bent so the teeth almost ligned up perfectly. I wanted the teeth "SHARPER" !
|
 This shows the left with upper and lower part puddied up. It still needed to dry. After that, I smoothed it out with the rotary tool. This shows the left with upper and lower part puddied up. It still needed to dry. After that, I smoothed it out with the rotary tool.
|
I cut these pieces a bit so it would fit my head better. The back isn't 100% centered, but.. its the back. :)
|
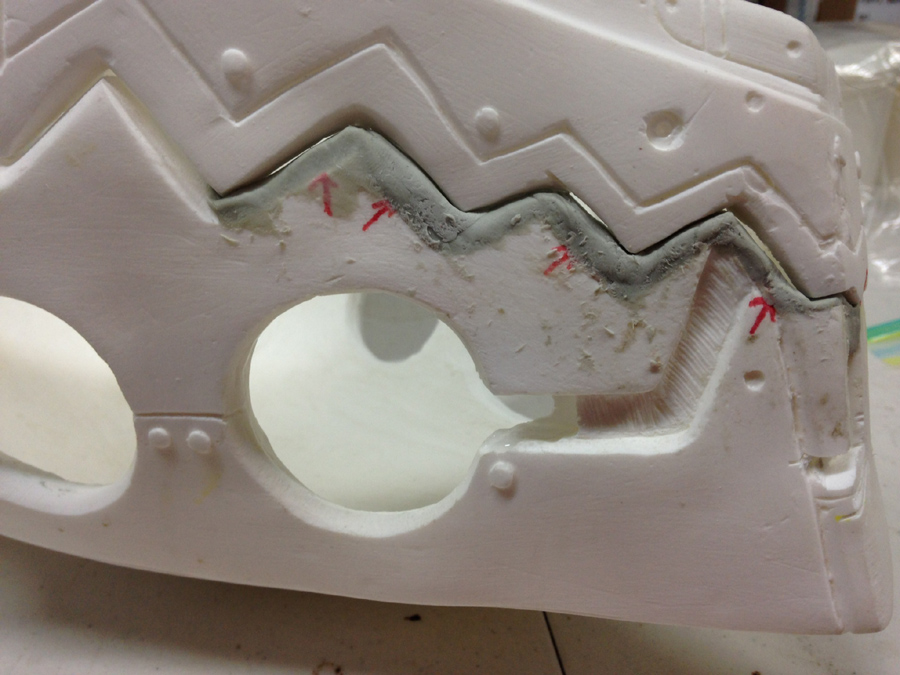
 Close up of the teeth I was filling in. This was before I made them smooth and pretty after the puddy dried and using a rotary tool. Close up of the teeth I was filling in. This was before I made them smooth and pretty after the puddy dried and using a rotary tool.
|
 Shows the right with upper and lower part of mask completed with puddy and sharpened teeth. Shows the right with upper and lower part of mask completed with puddy and sharpened teeth.
|
This photo of the inner part of the top of the mask shows the puddied teeth. On the left side, you will see yellow-marking. I removed that with a rotary tool.
|
 Shows the left side of the upper part of the mask puddied and sharpened teeth. I smoothed the puddy on the face. Shows the left side of the upper part of the mask puddied and sharpened teeth. I smoothed the puddy on the face.
|
 Shows the right side of the upper part of the mask puddied and sharpened teeth. Shows the right side of the upper part of the mask puddied and sharpened teeth.
|
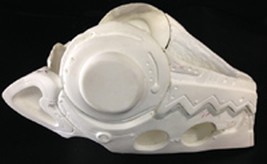
This photo shows the upper and lower jaw puddied and cleaned up! Ready for paint!
|
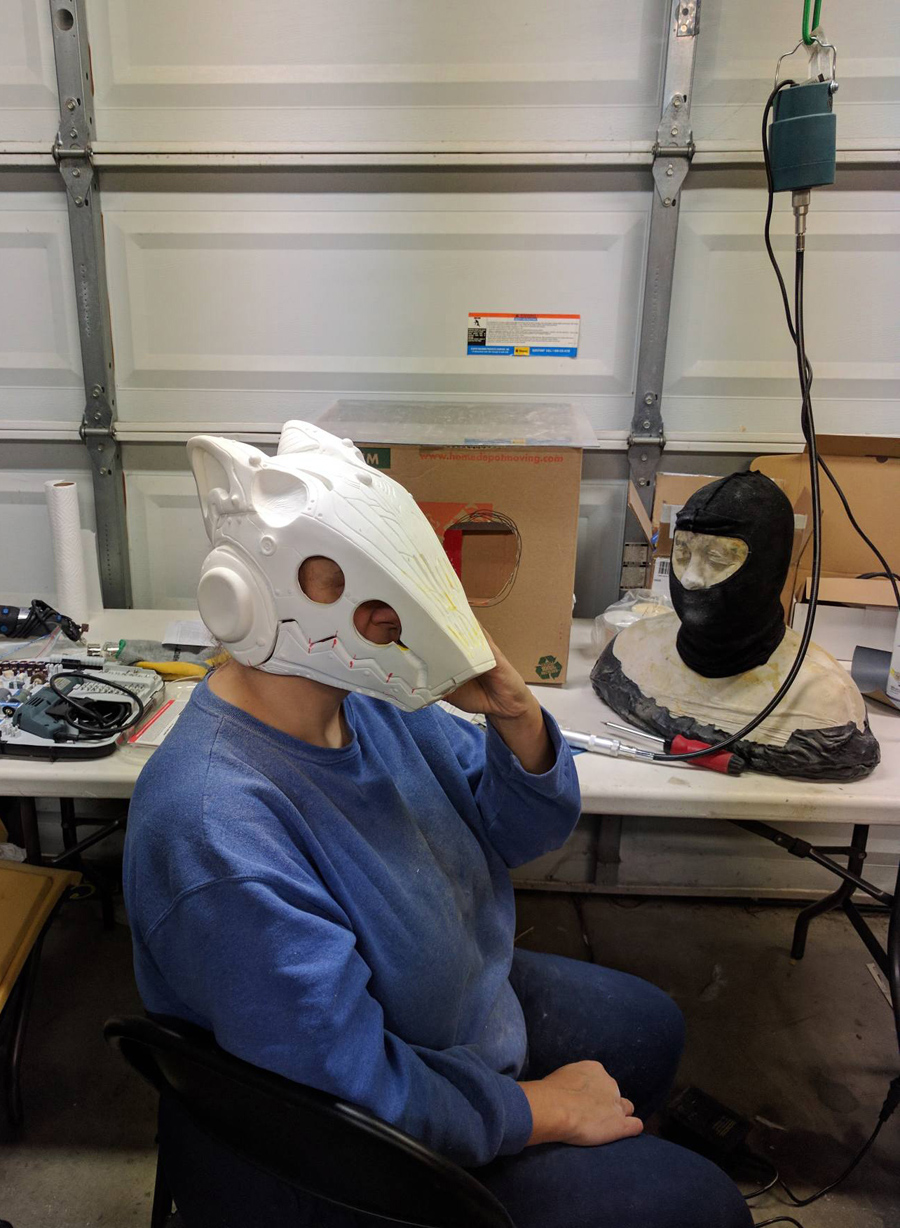
 This shows me wearing the cleaned up mask that is ready to go for painting! I wanted to show the flexable shaft rotary tool I used (its hanging up on the upper right) This shows me wearing the cleaned up mask that is ready to go for painting! I wanted to show the flexable shaft rotary tool I used (its hanging up on the upper right)
|
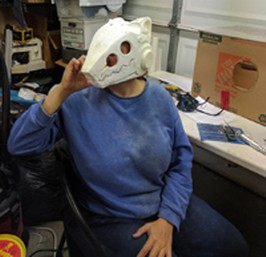 This shows me wearing the cleaned up mask that is ready to go for painting! This shows me wearing the cleaned up mask that is ready to go for painting!
|