MASK PAINTING - RoboDog and it's Tutorial
Main menu:
MASK PAINTING
PAINTING ROBODOG MASK
You can see what paints I used on the tools page.
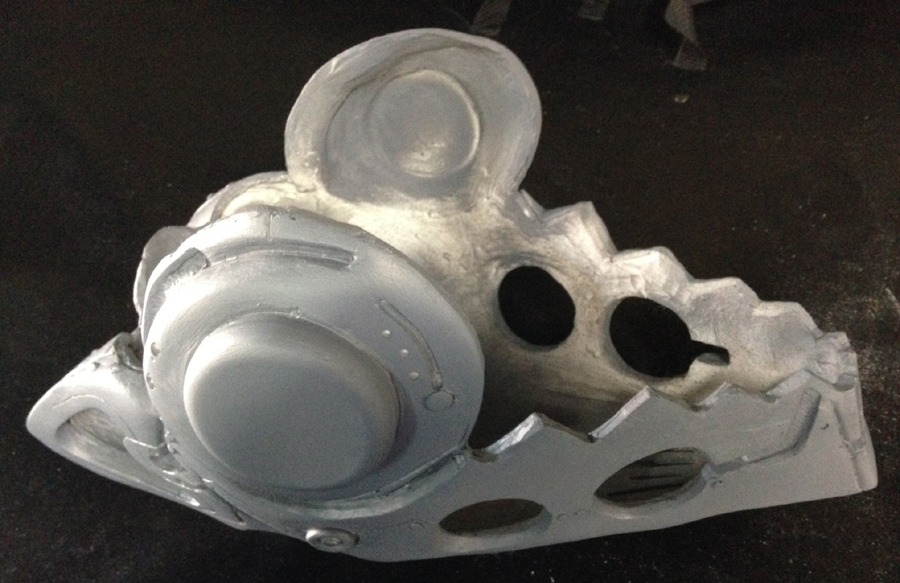
After cleaning up the raw mask, I started by roughing up the plastic with fine sandpaper. Then primered it twice with grey primer, and then started painted by hand.
I also used these tools at this point:
Black Buckram Sheet (for slits of the muzzle): $5
Ring-
Chicago Screws 1/4"(for jaw hinges): $5
Black Nylon Webbing 1" wide, 6" (for back plate attachment): $5
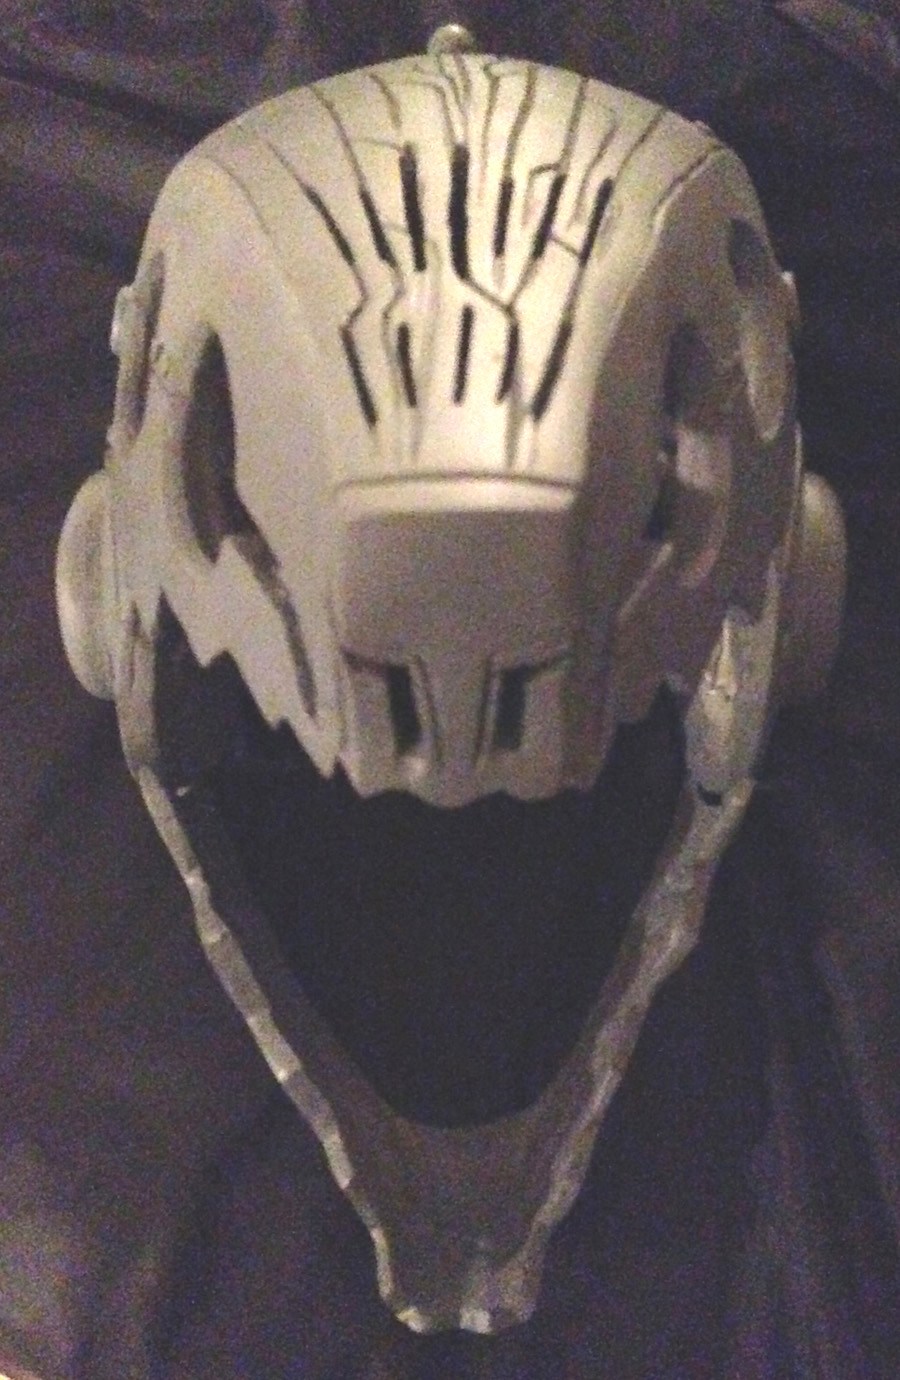
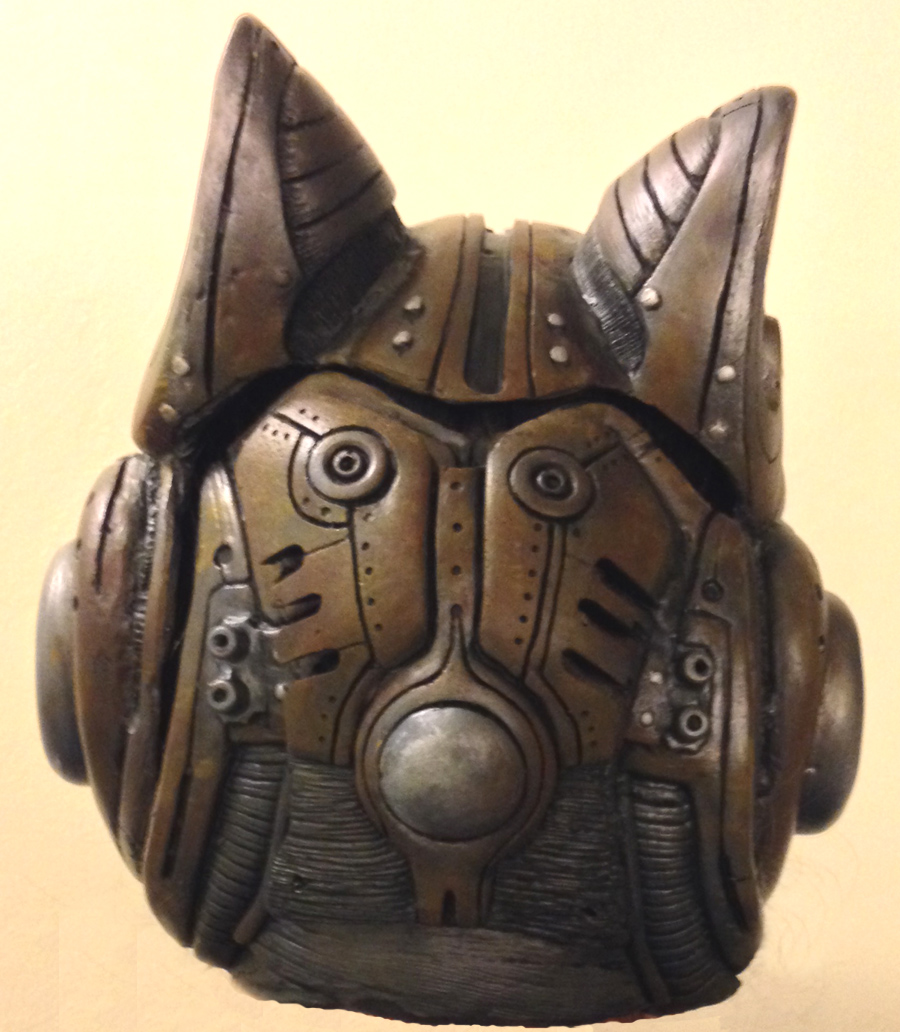
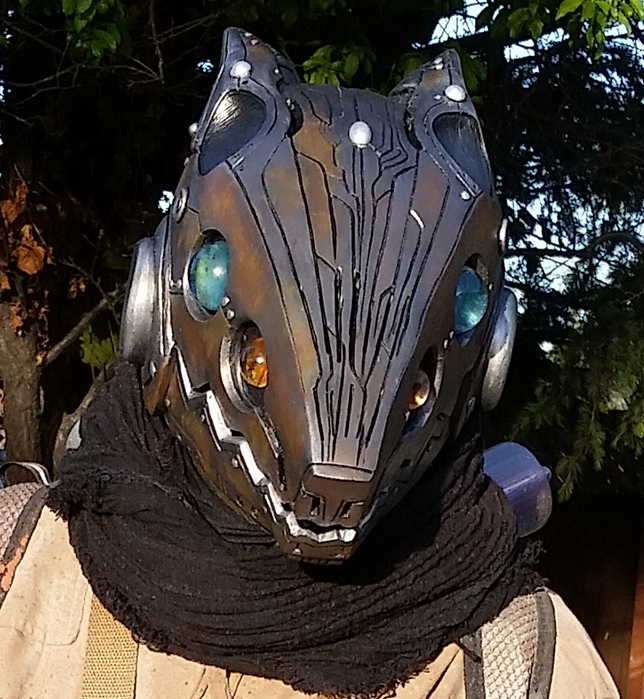
DETAILING THE MASK |
|
|
|
|
|
|
|
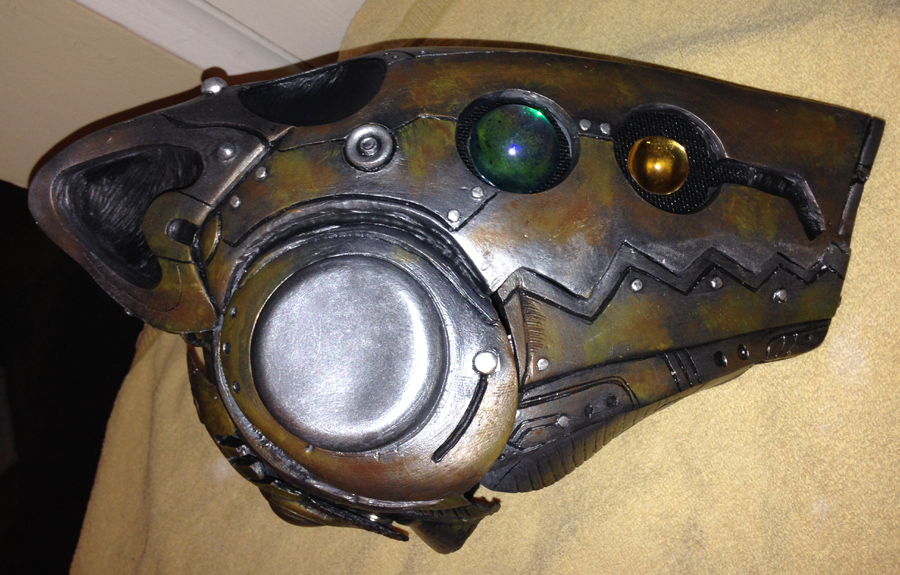
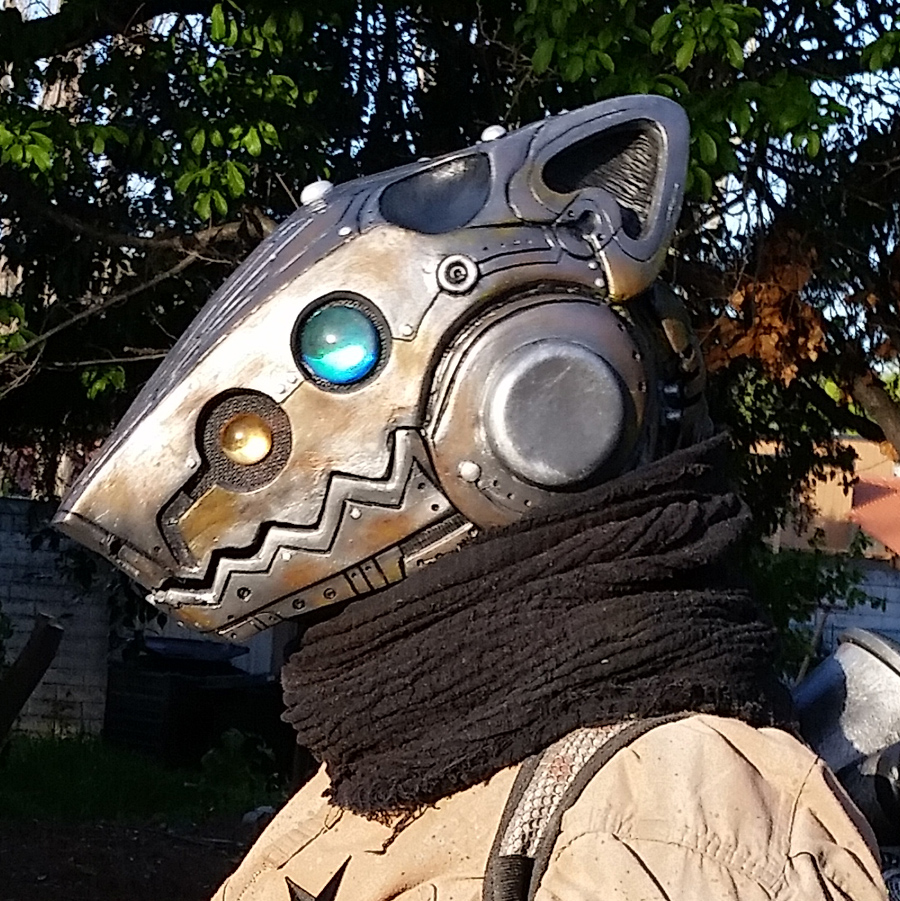
WEARING THE MASK |
|
|
|
|
|
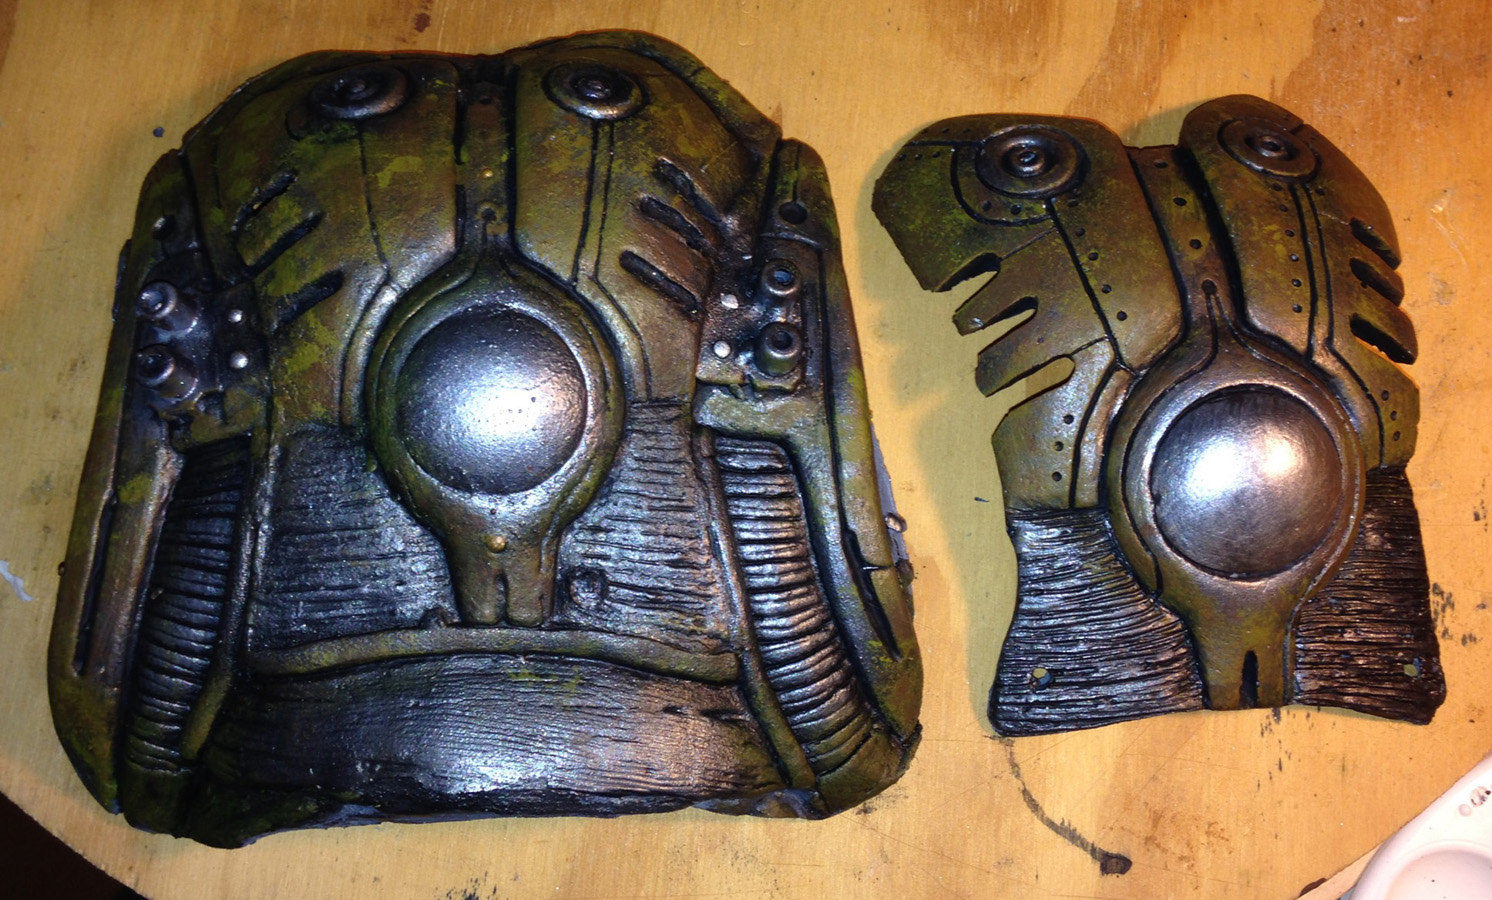


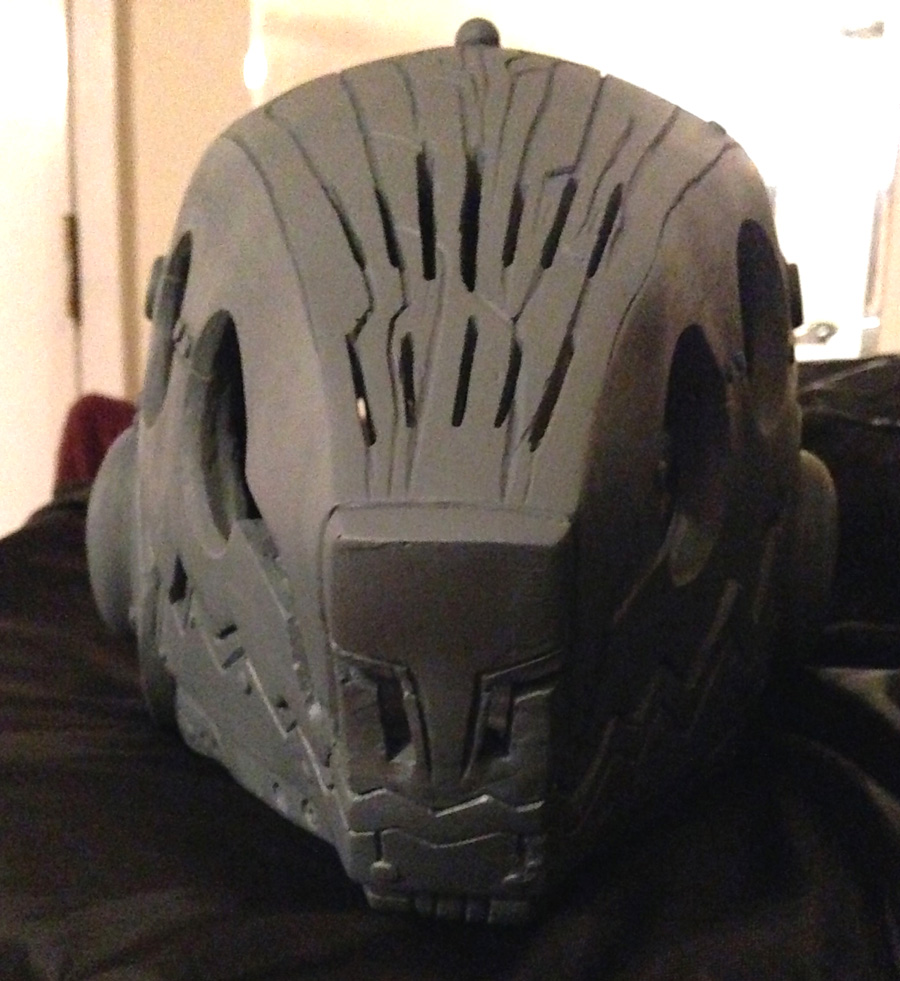
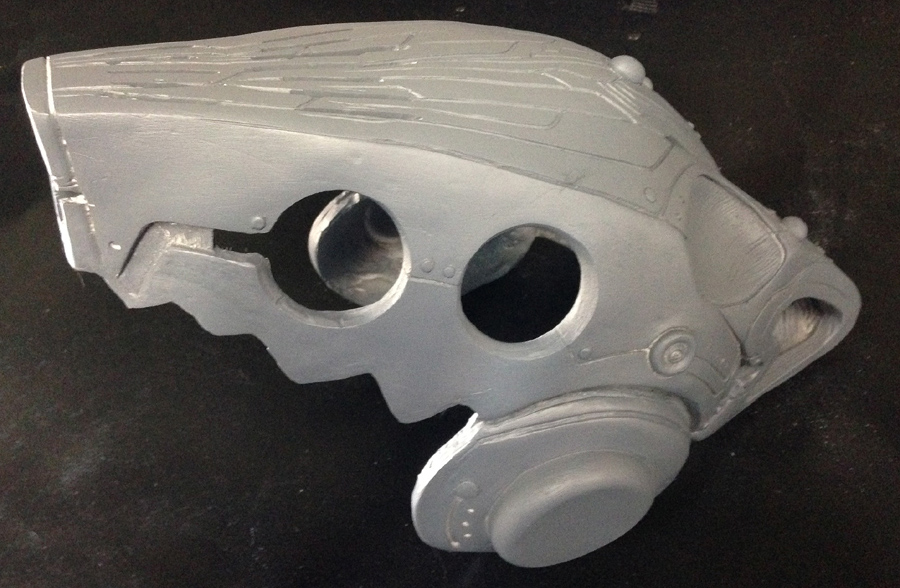
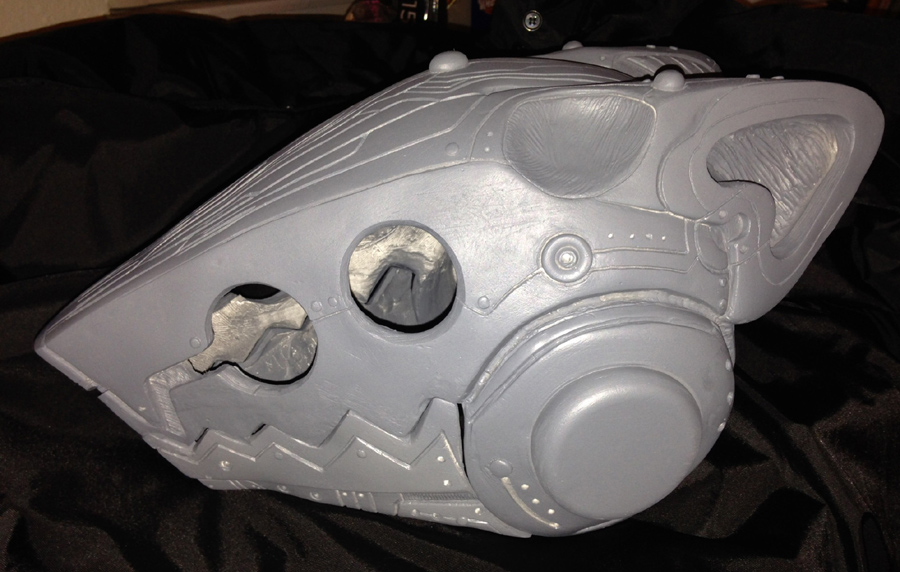
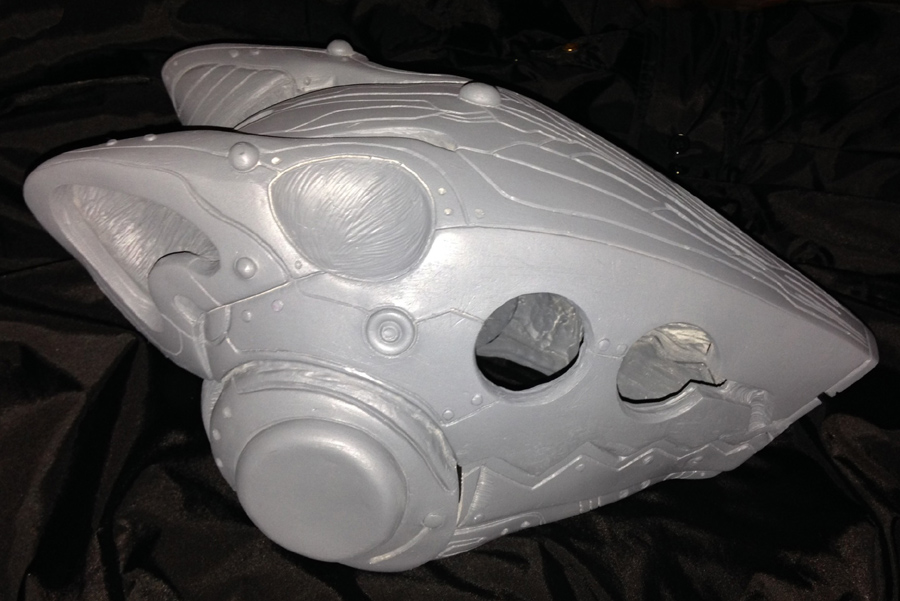
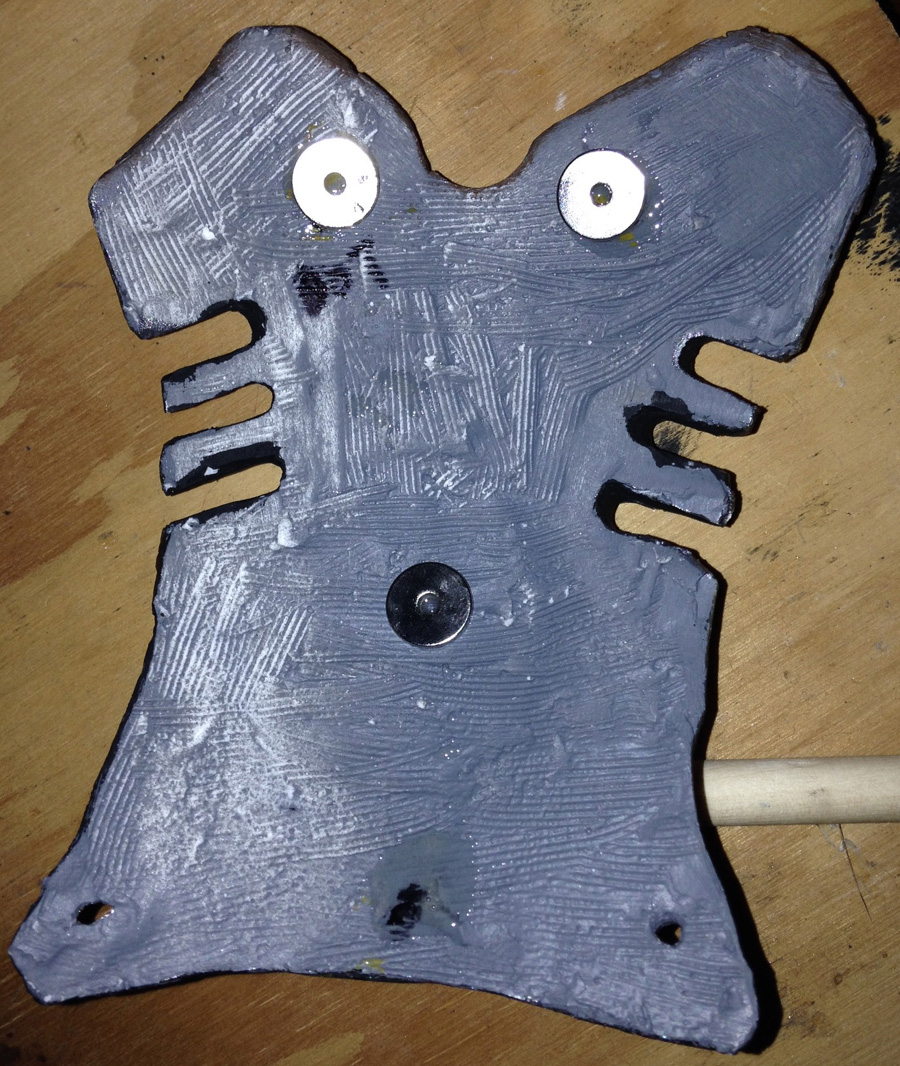
PRIMERED PIECES |
|
|
|
|
|
|
|
|
|
|
|
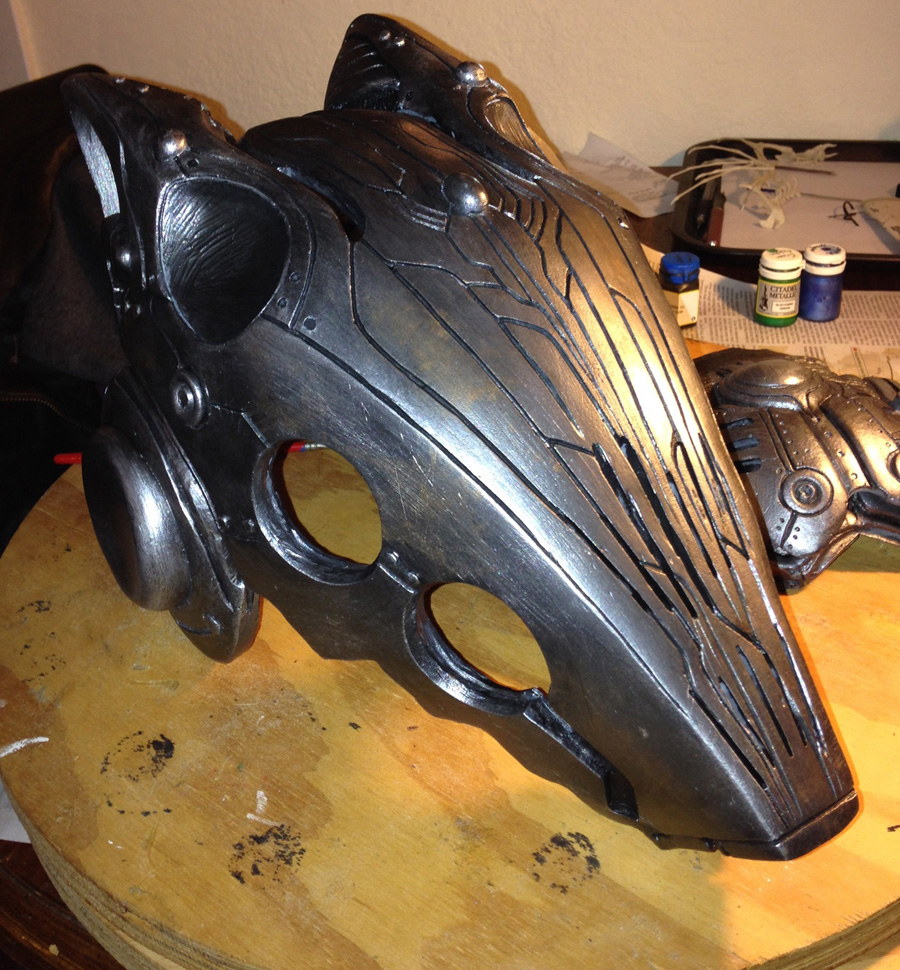
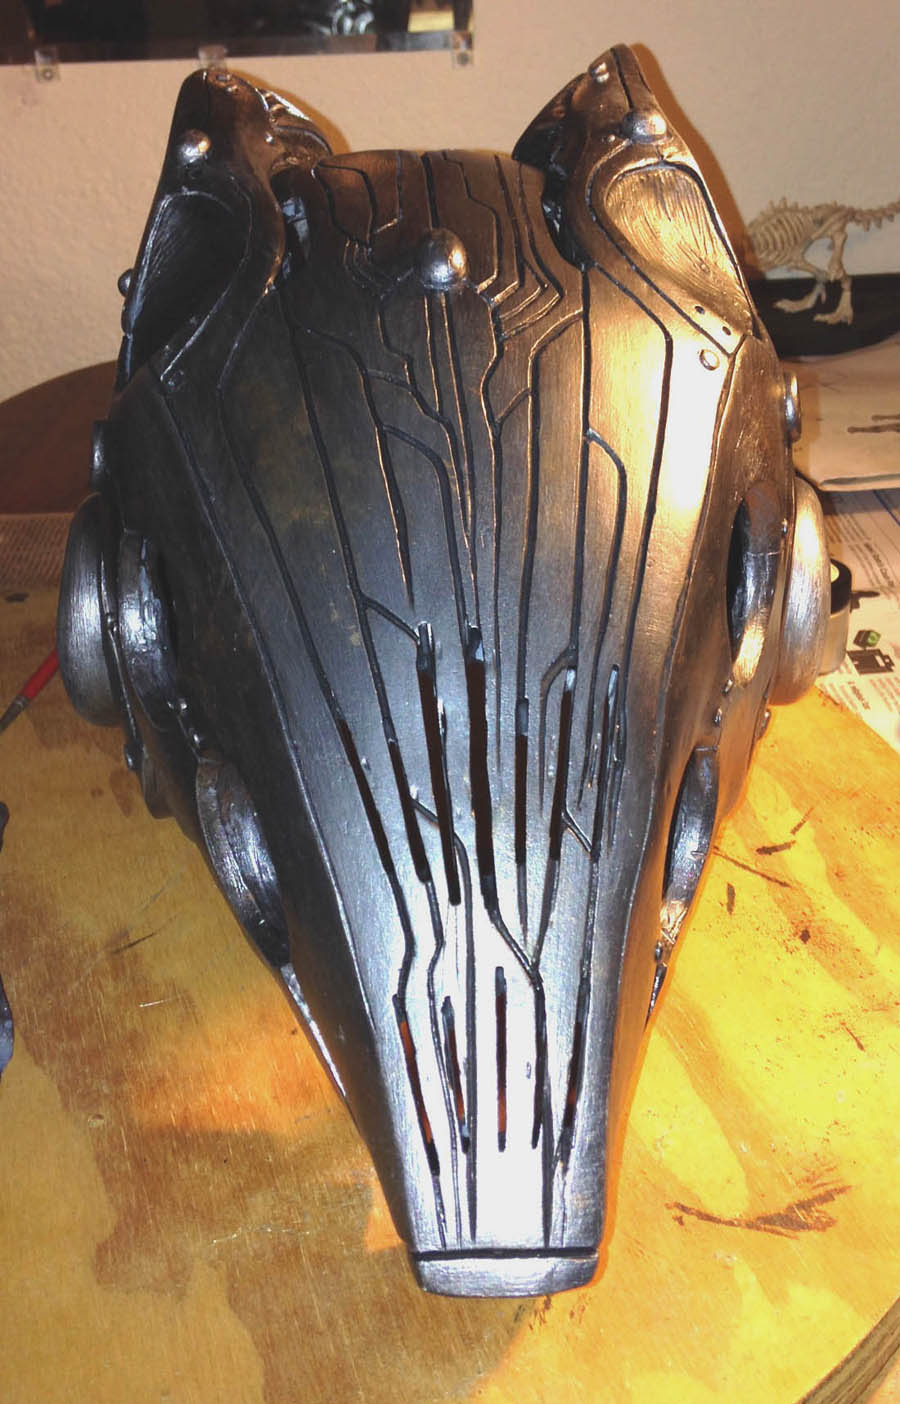
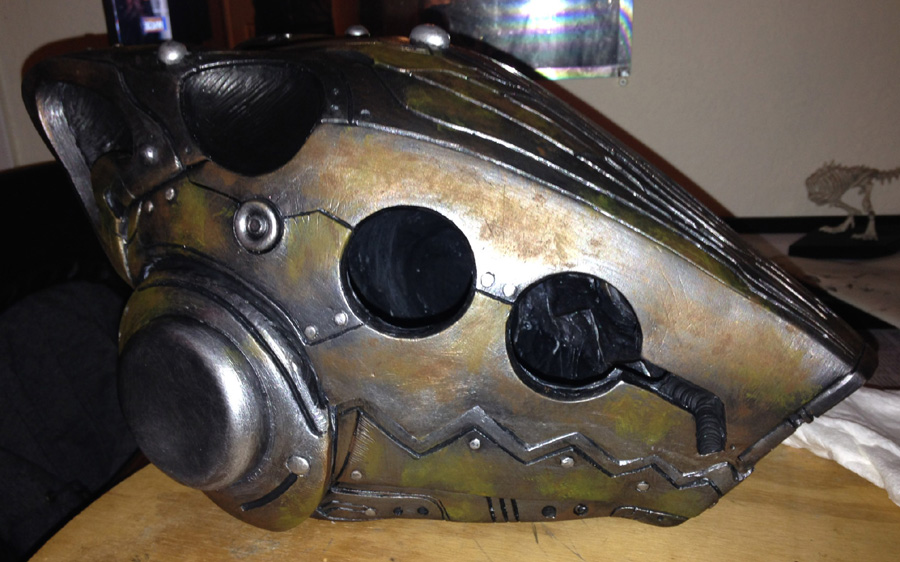
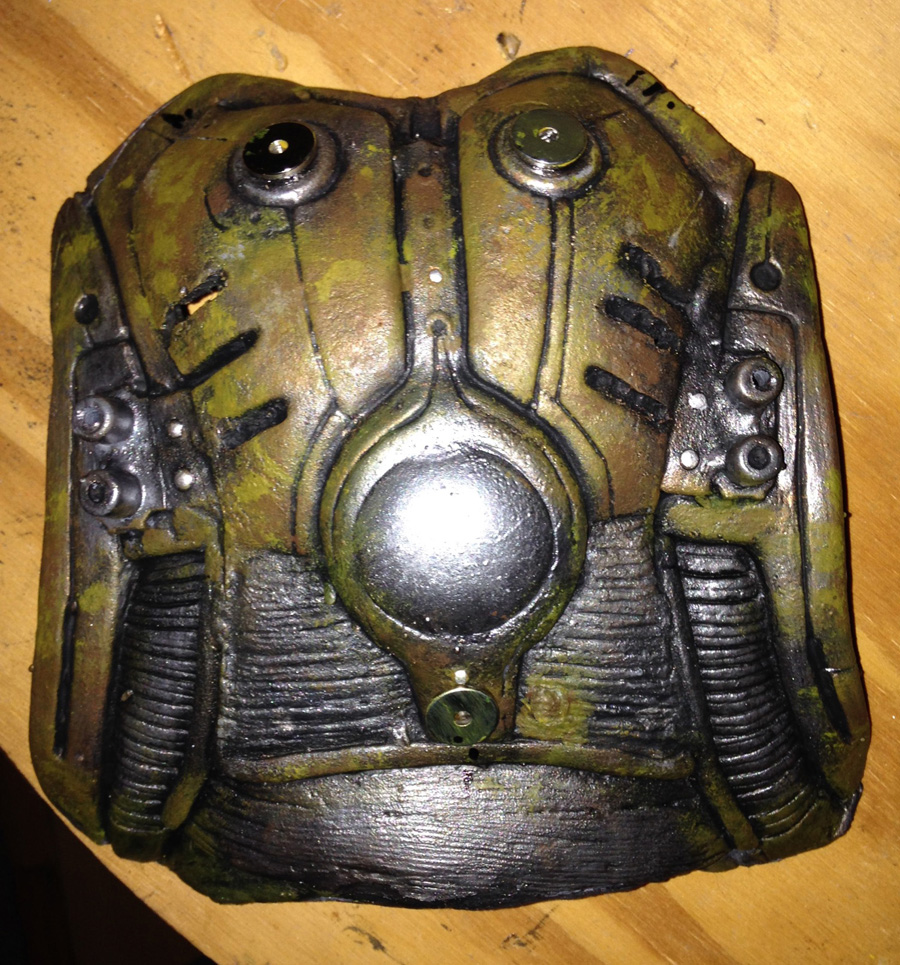
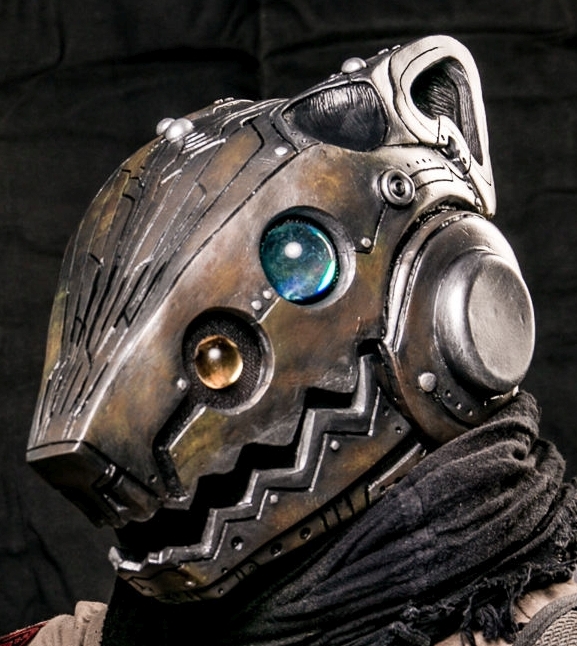
PAINTING THE MASK |
|
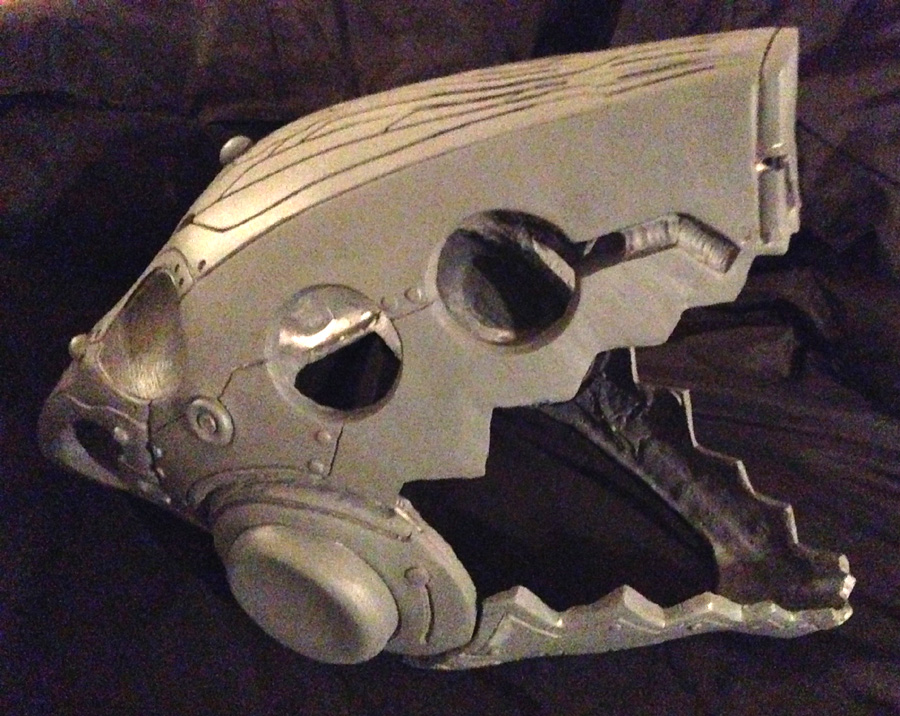
Left side of the mask with the first layer of hand- |
|
|
|
|
|
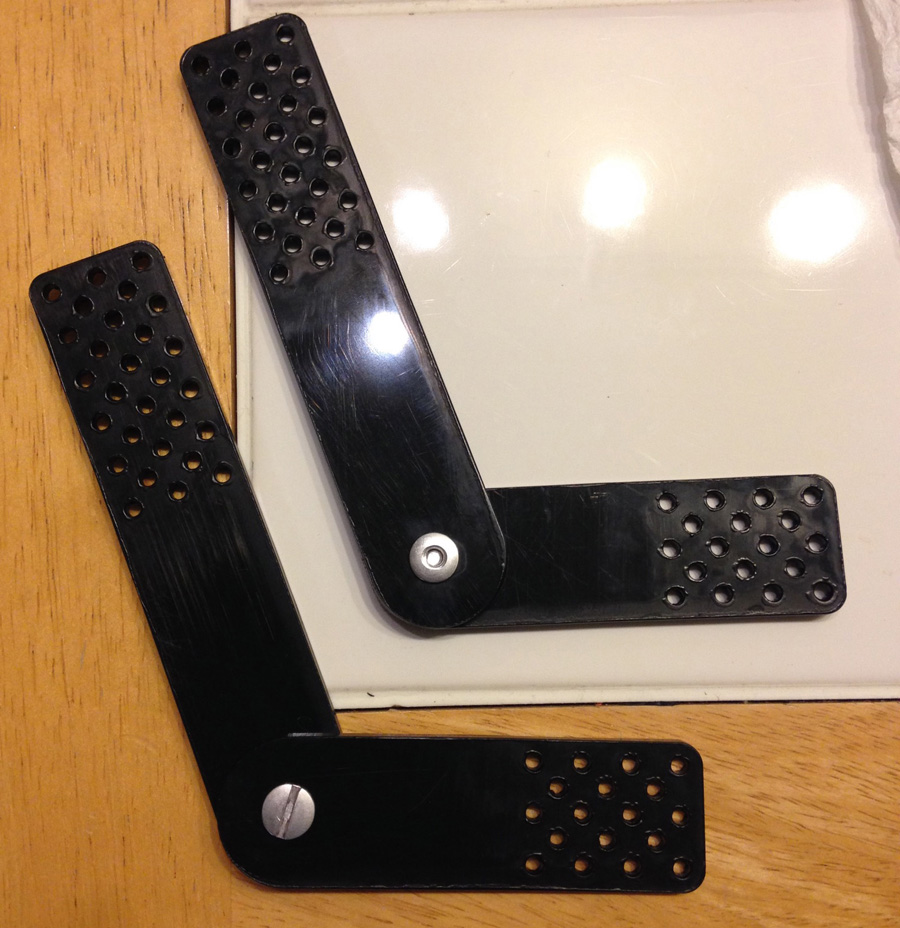
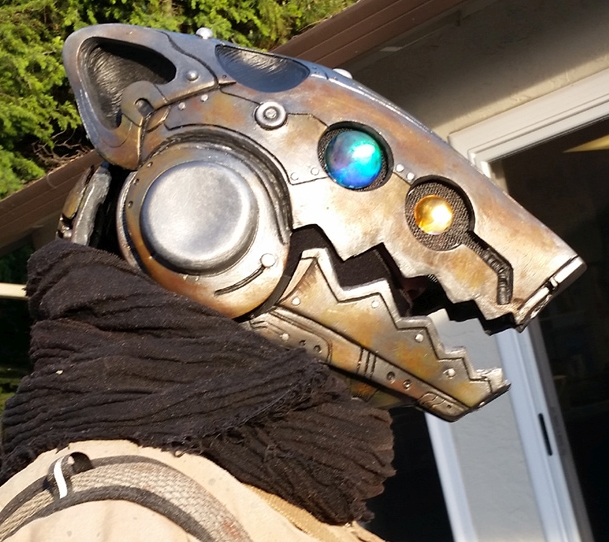
ATTACHING PARTS / JAW |
|
|
|
|
|