|
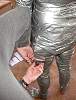
START BY TAPING WRISTS/ANKLES/WAIST:
Start with getting Ductee clothed in the clothes to be duct taped over.
Use about 6" strips of Duct tape at any one time, except when
taping the waist when starting (you can tape all the way around a couple
times to make sure the shirt and pants wont move). Start by taping the
wrists, ankles and waist of the shirt and pants. If the clothes are
baggy, fold the material then tape it together.
***BE SURE NOT TO TAPE TOO TIGHT! Do not cut off circulation!

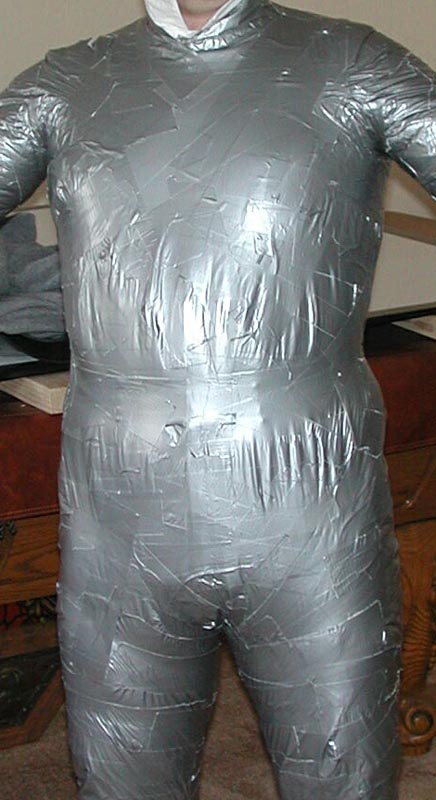
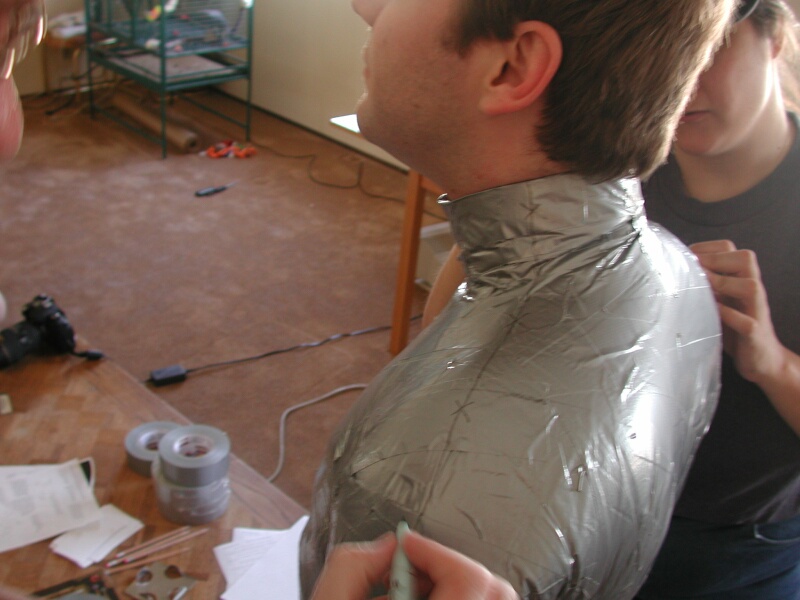
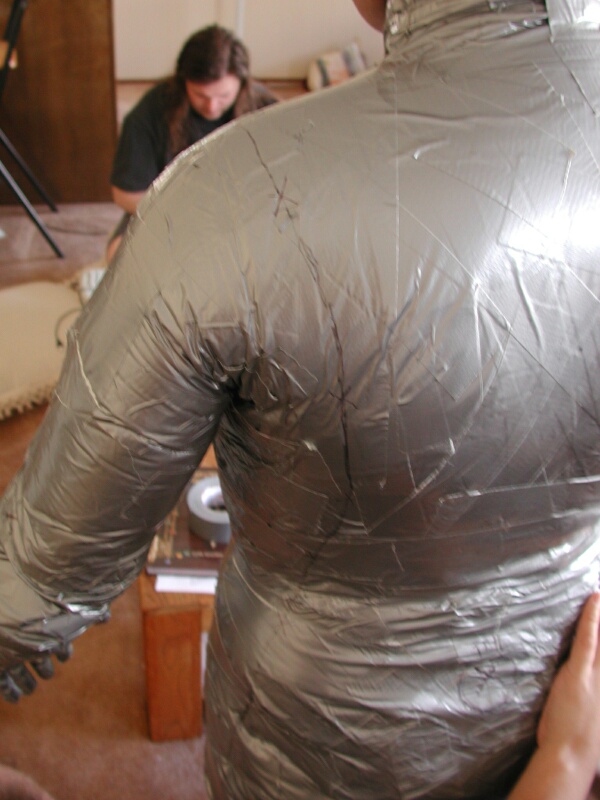
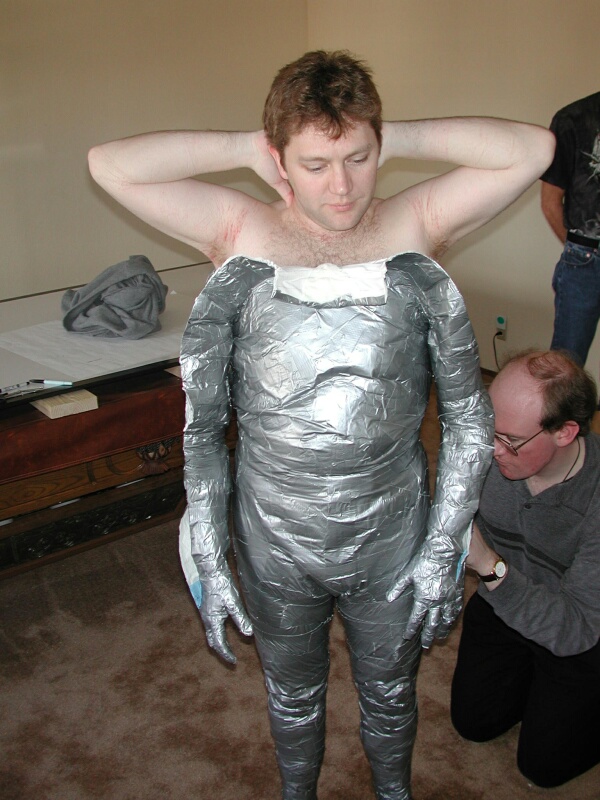
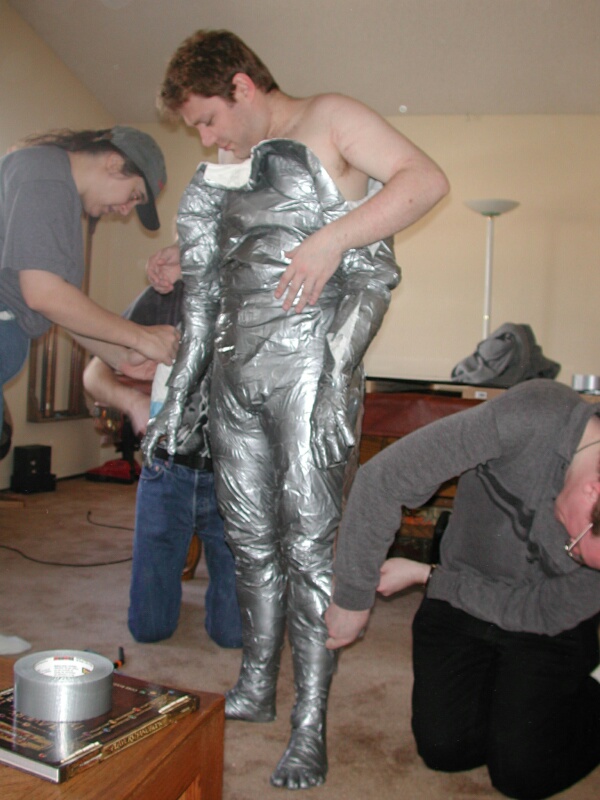
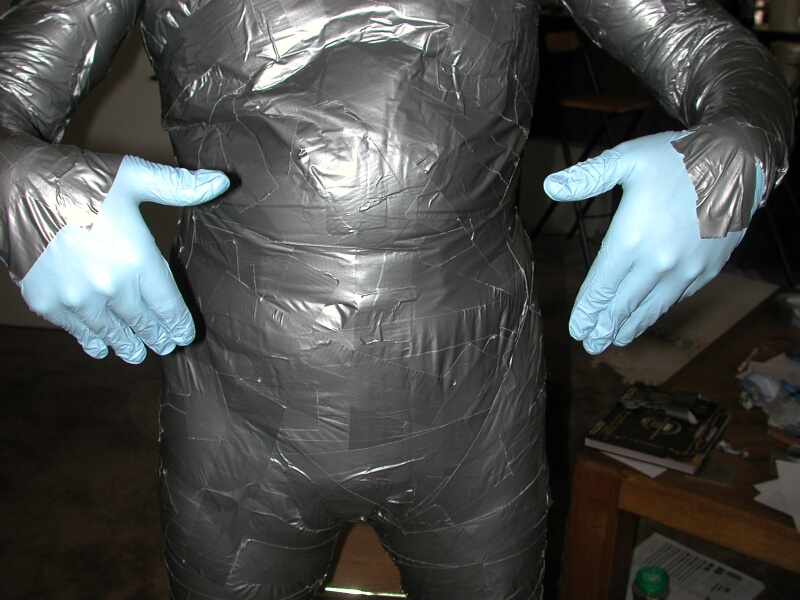
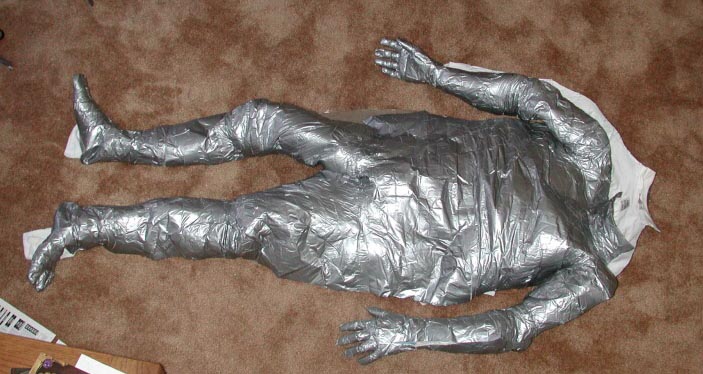
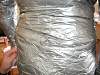
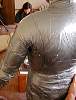
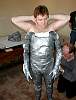
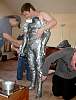
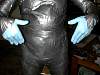
TAPING THE BODY:
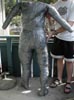
You can start from the waist then go up and down the body, Zig-Zagging
6" strips of duct tape. You have have one friend start taping from
the back and one in the front. You will need to use at least two layers
of duct tape to cover the whole body. Make sure you get the crotch and
arm-pits very well. The Ductee at this time should not be able to move
very well. This picture shows the Zig-Zag pattern you should use on
the body.

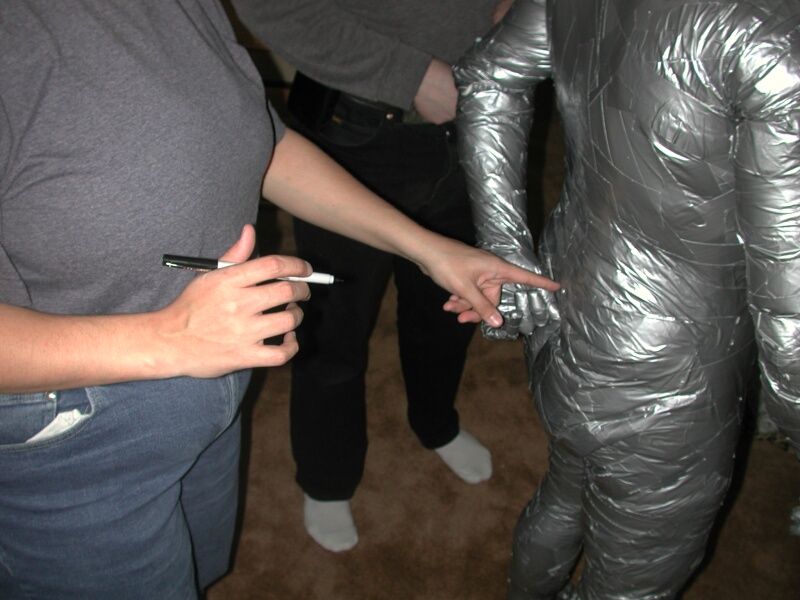
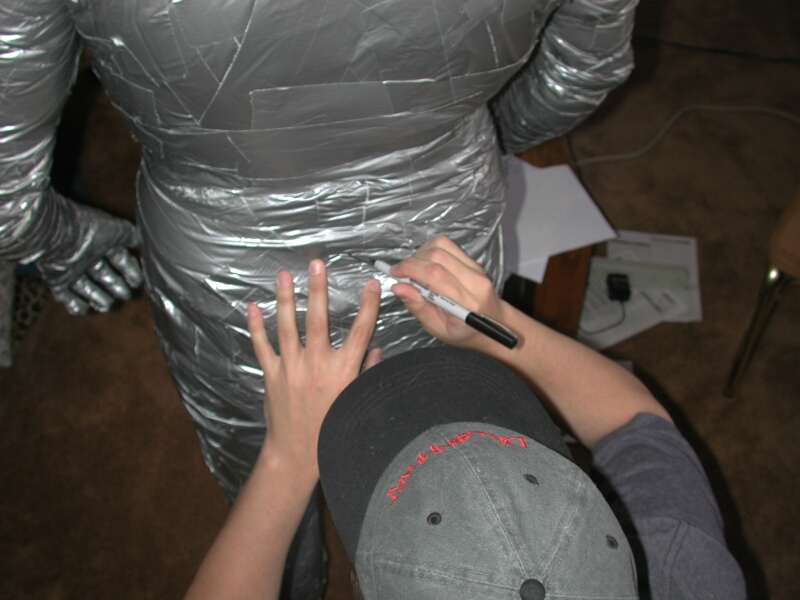
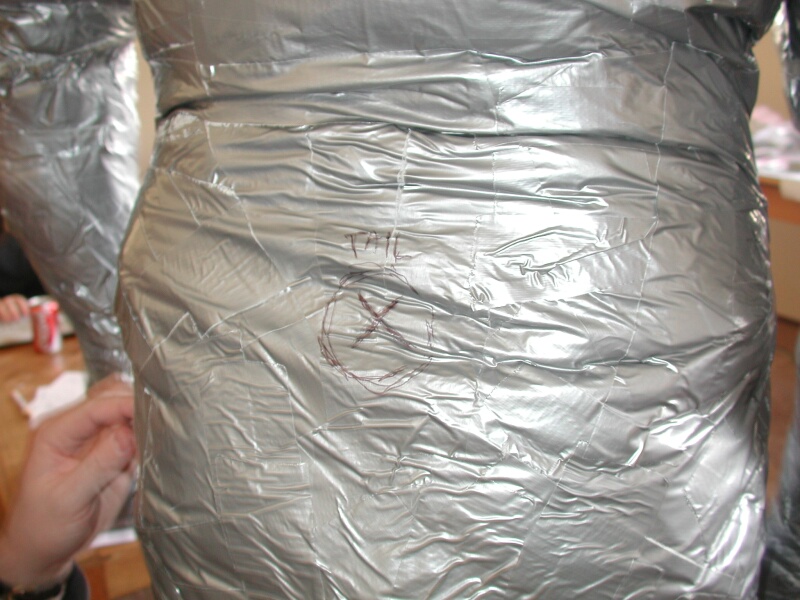
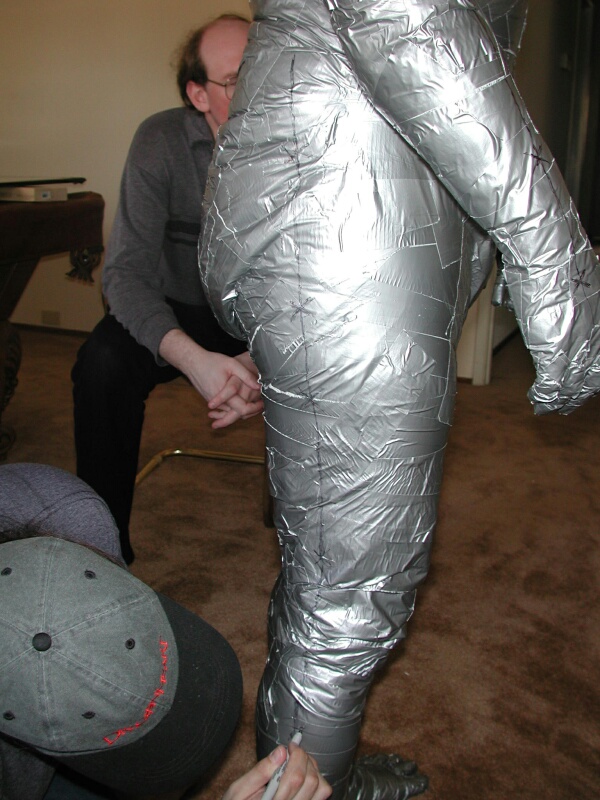
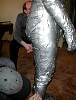
MARKING THE TAIL:
This is handy to let someone know roughly where a tail would look good.
Just mark the duct tape with a permenant marker with a circle with an
X in it, and mark TAIL on the top of it.
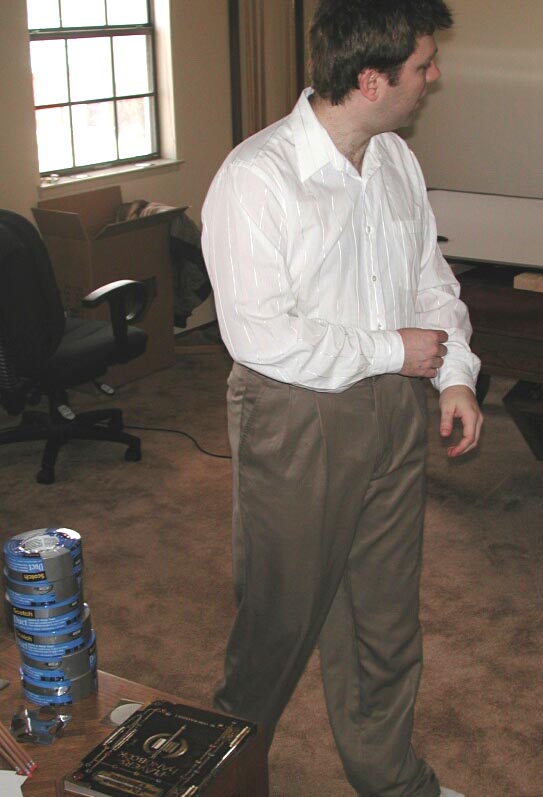
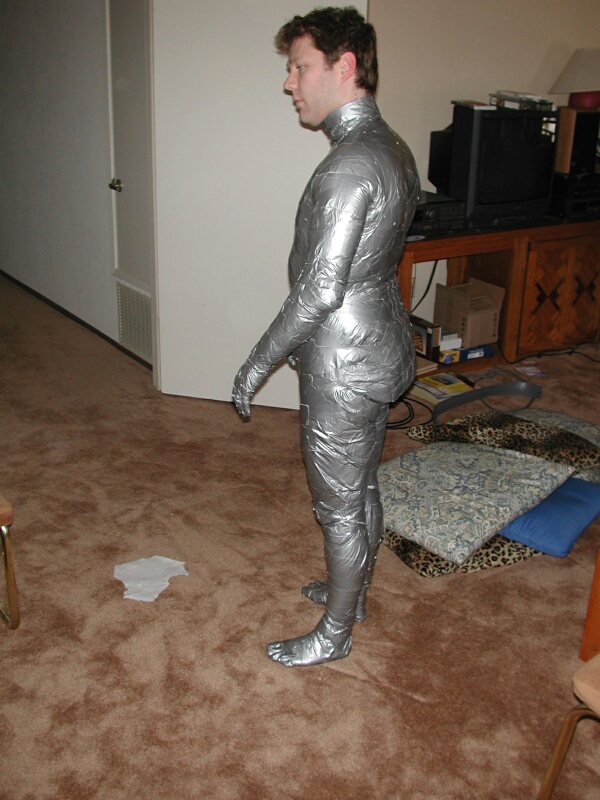
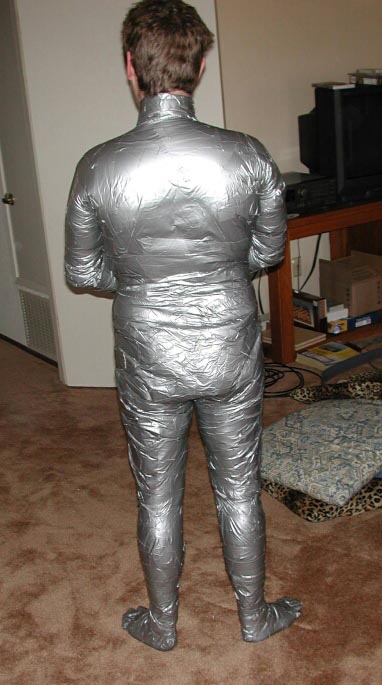
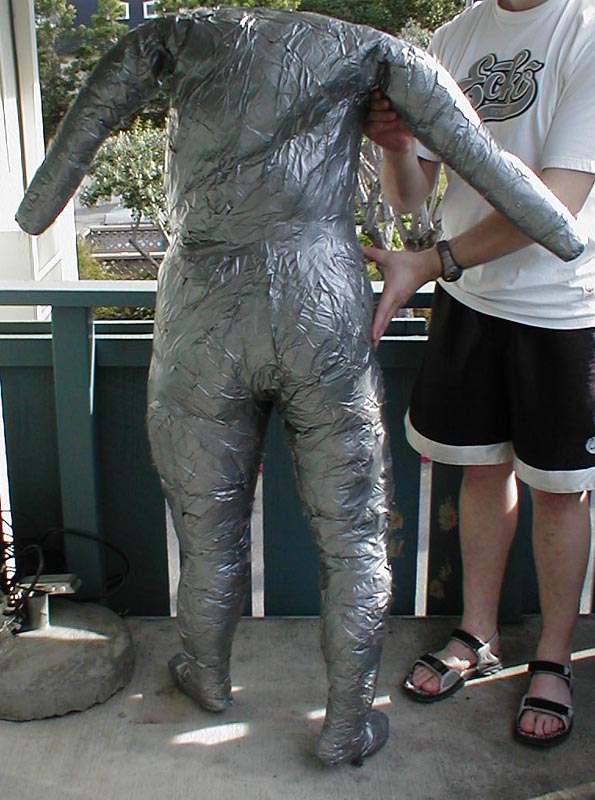
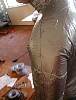
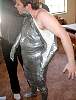
NOTE: This particular Duct Tape
Dummy looks a little "loose" This was done on purpose by stretching the duct tape (he crouched down) for this person is using the duct tape as a pattern for a costume. Yours might look a little more 'tight' since the person shouldn't move much while getting their DTD done.


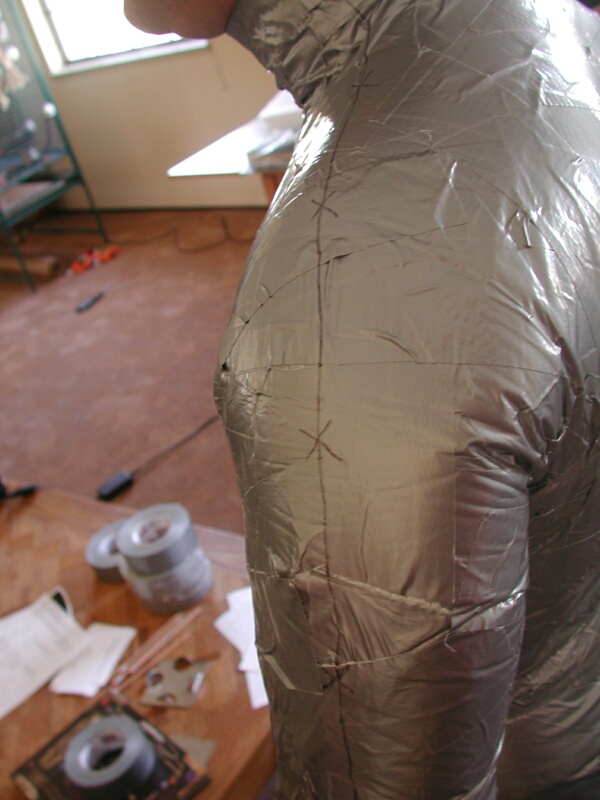
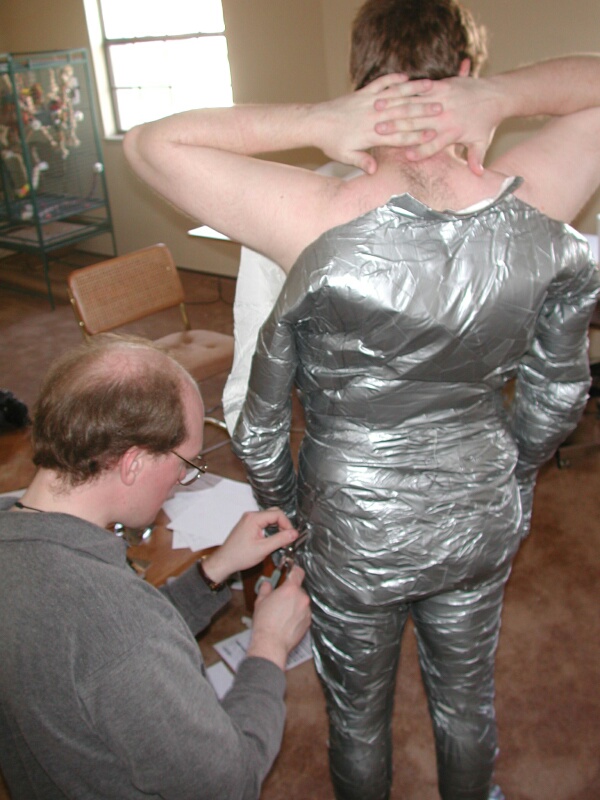
MARKING THE DUCT TAPE DUMMY:
IMPORTANT: Mark the arms, body and
legs where you will be cutting. Place X's every few inches so that when
you tape the DTD back together, you know HOW it goes back together and
it will all line up.

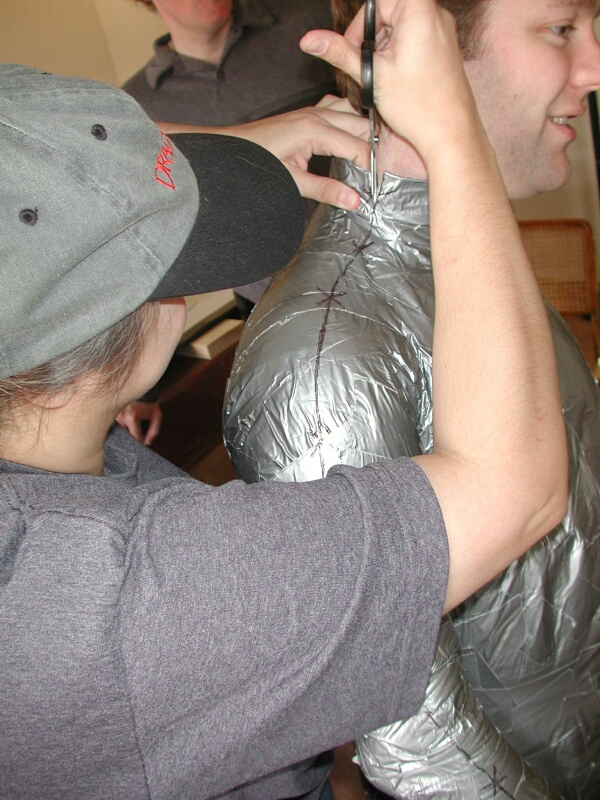
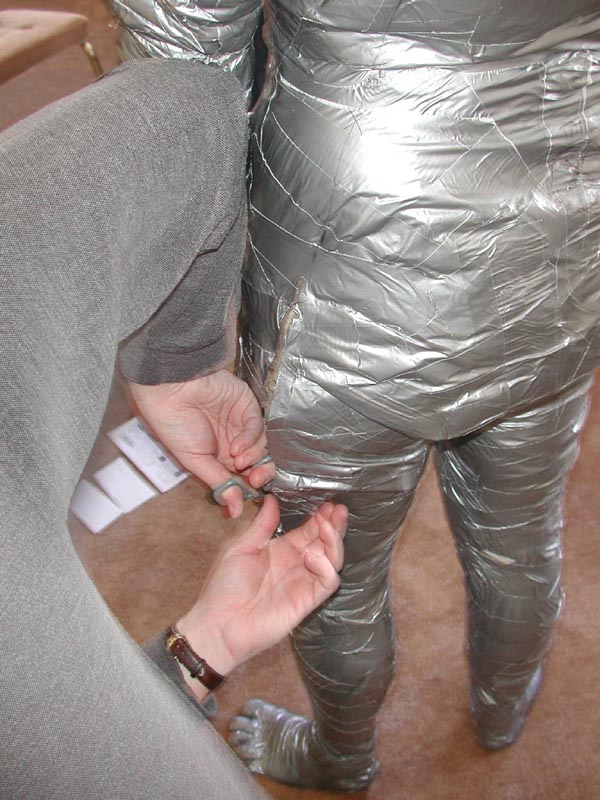
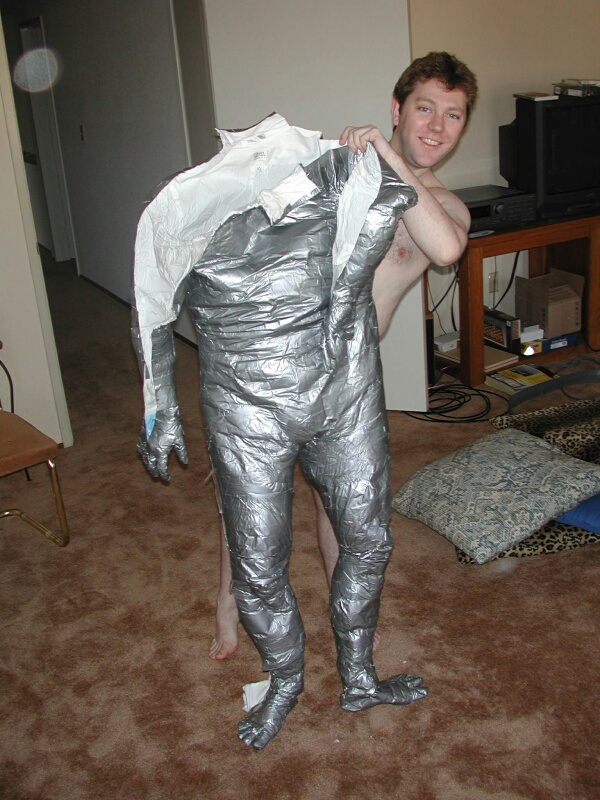
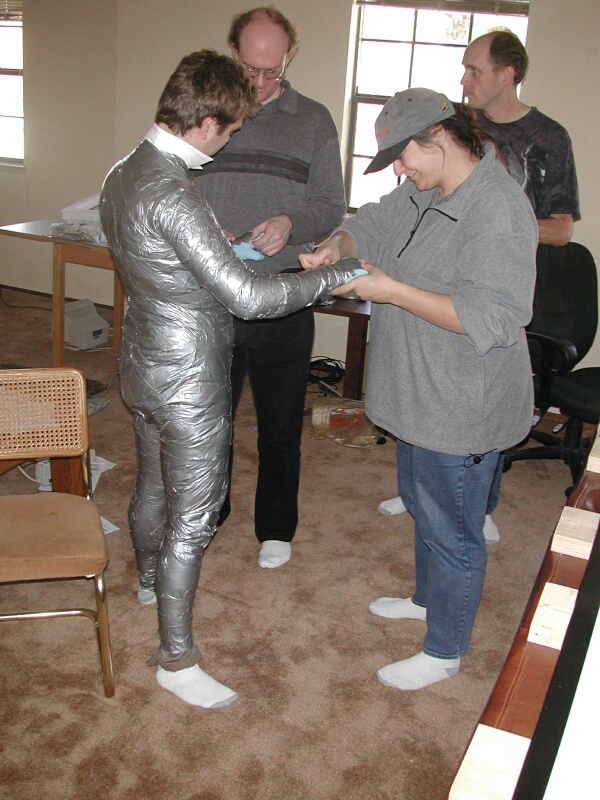
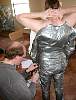
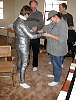
CUTTING THE PERSON OUT:
IMPORTANT: Do this SLOWLY and CAREFULLY.
You do NOT want to cut into flesh. Be sure you use the blunt tipped
badage scissors and not regular scissors for this. Cut the lines that
you marked on the duct tape in the previous section. Start with the
collar, work down each arm, then the back/hips area and finally the
ankles and feet. The person inside the duct tape will know when they
can pull off the duct tape from the hands and feet.


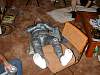
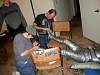
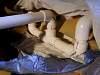
STUFFING THE DUCT TAPE DUMMY:
After the Ductee is taken out of the taped version of themselves, they
can help make a 'skeleton' and help stuff the DTD. (see below) The Stuffing is usually made from balls of used newspaper. Ball up the paper pretty tight, start with the feet and then go up the legs, torso, arms, check, throat. You can also use any kinds of paper, or even PoliFil, though it would take a LOT of it!
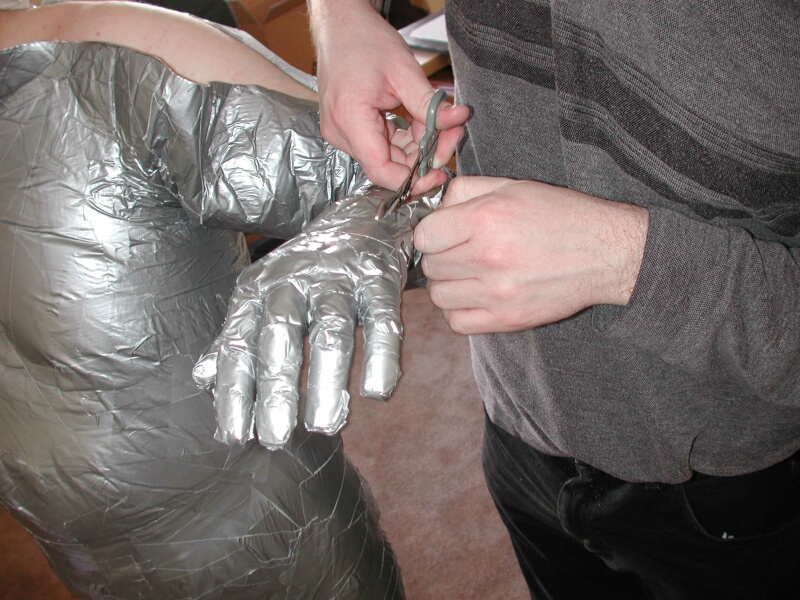
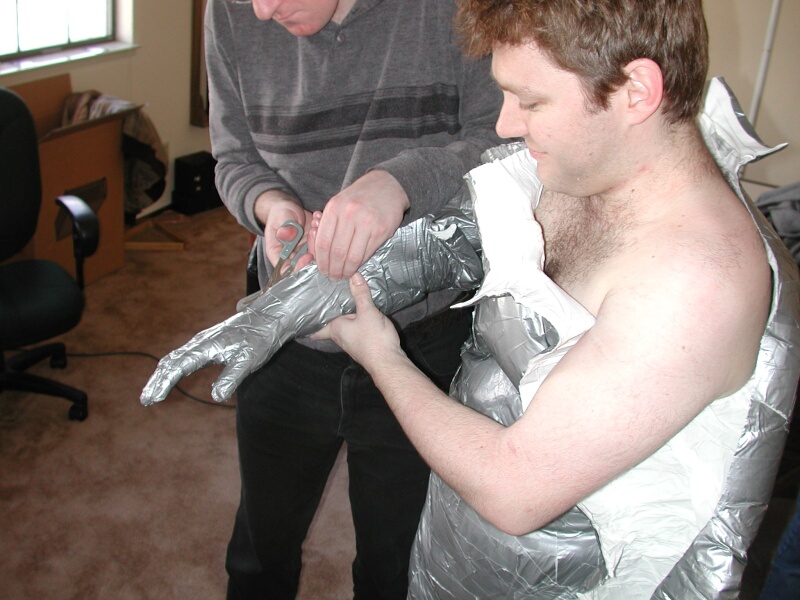
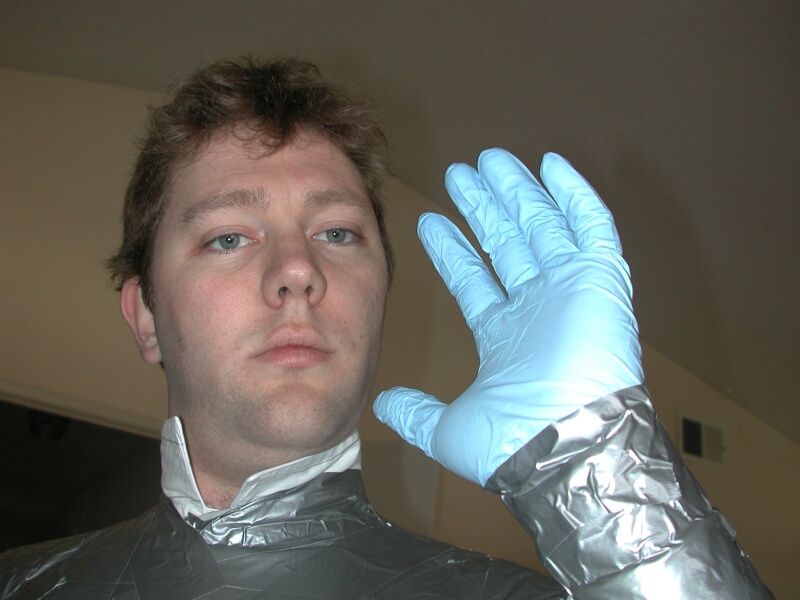
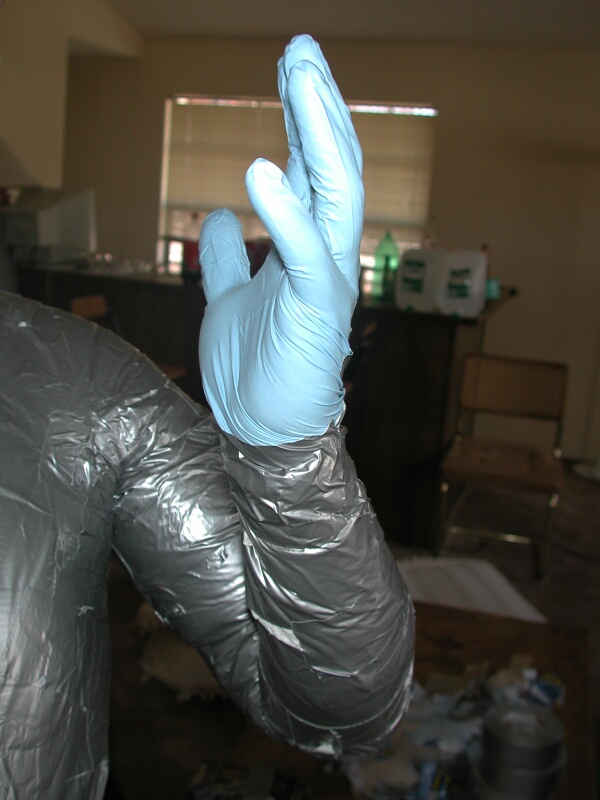
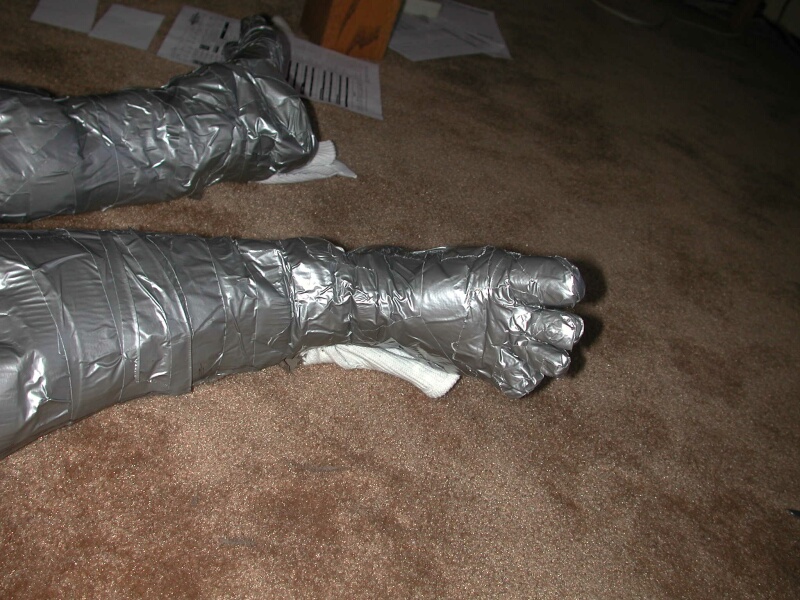
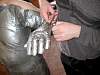
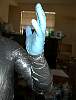
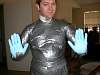
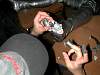
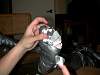
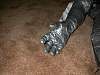
TAPING HANDS: -This is OPTIONAL
Have the ductee wear some rubber or cotton gloves. Take small 3"x3" strips and zip zag them on the palm and top of the hand. Then, take tiny strips of duct tape around 1" wide x 3" long and slowly wrap each finger.
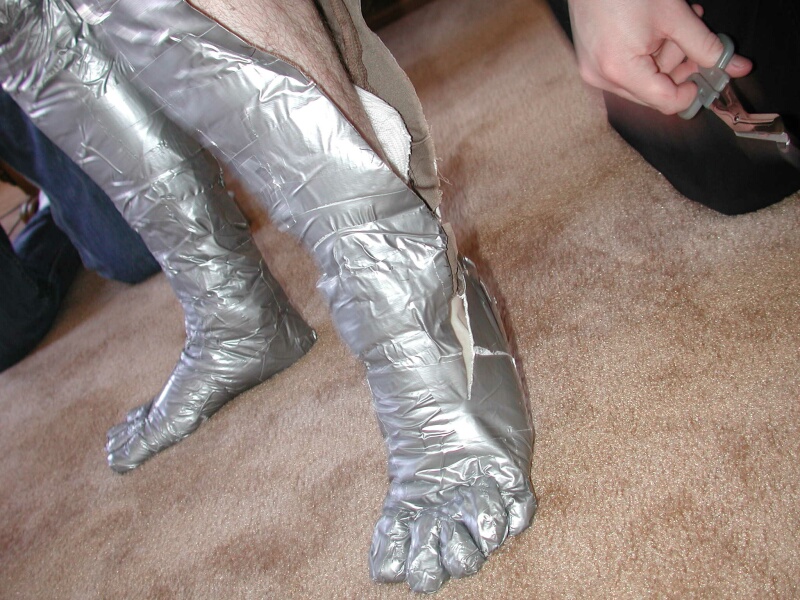
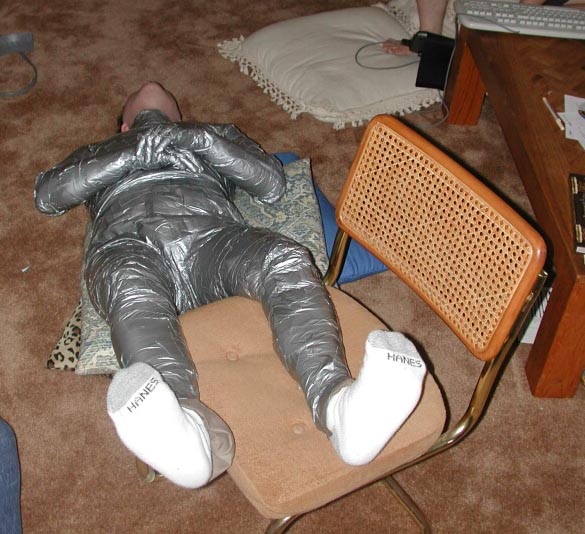
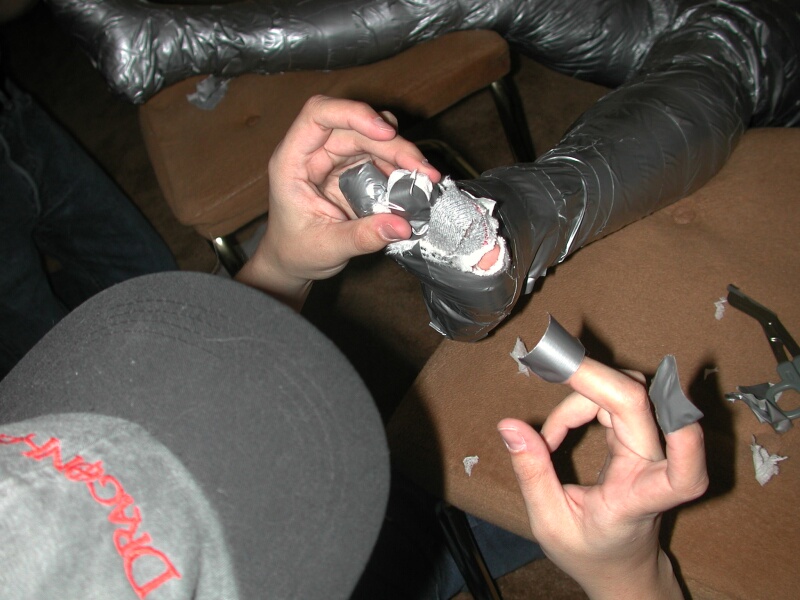
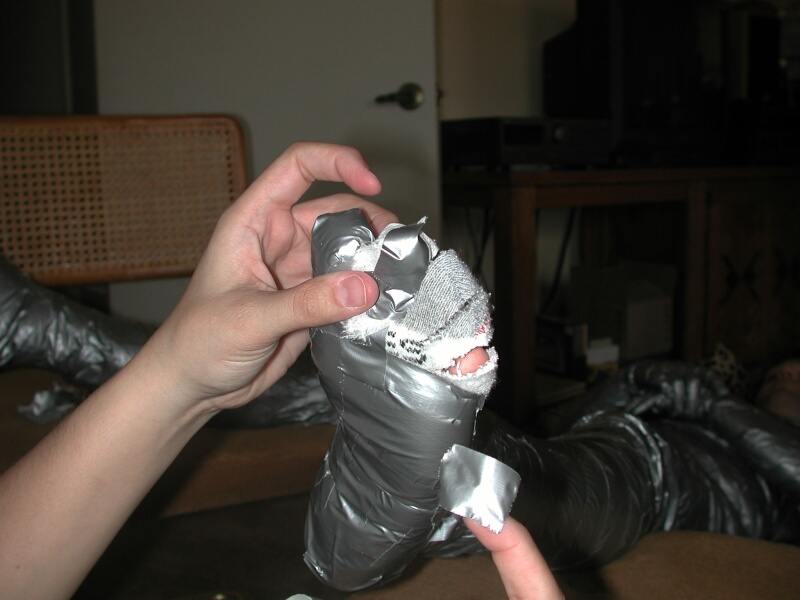
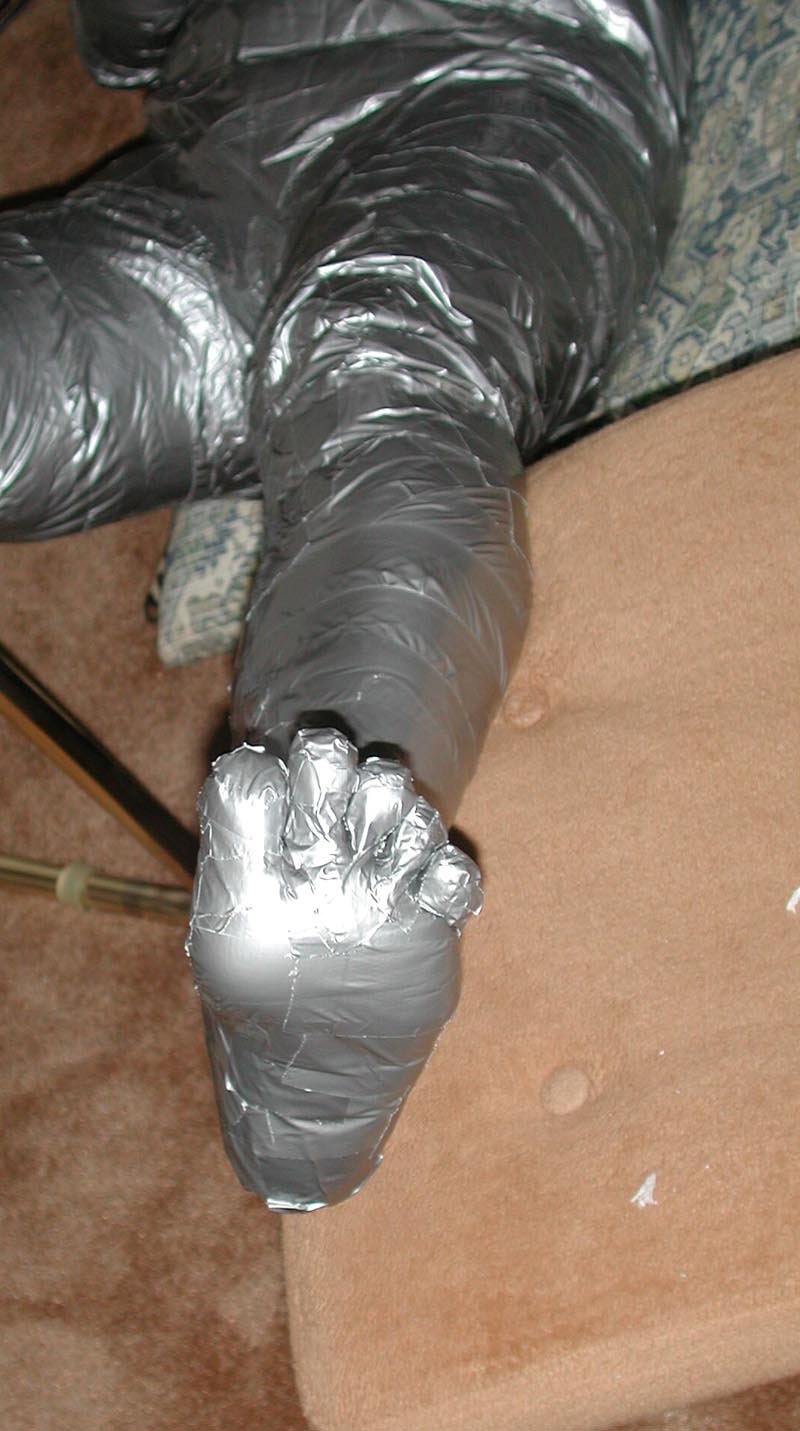
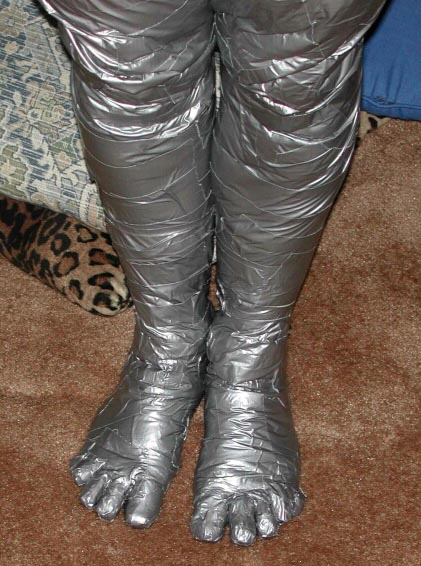
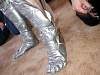
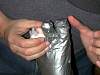
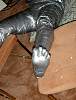
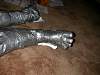
TAPING FEET/TOES: -This is OPTIONAL
Help the Ductee lay down (note that the ductee will not be able to help you do this, they are stuck in the stand up position) Prop their legs up on a chair to get to the feet easily. Cut the socks to each toe is seperated. This will expose skin, DO NOT TAPE THE SKIN! Take paper towels or saran wrap and wrap each toe. Then take tiny strips of duct tape around 1" wide x 2" long and wrap each toe around the towel or saran wrap. Finish by wrapping the bottom and top of the foot with duct tape, zigzagged like the body.
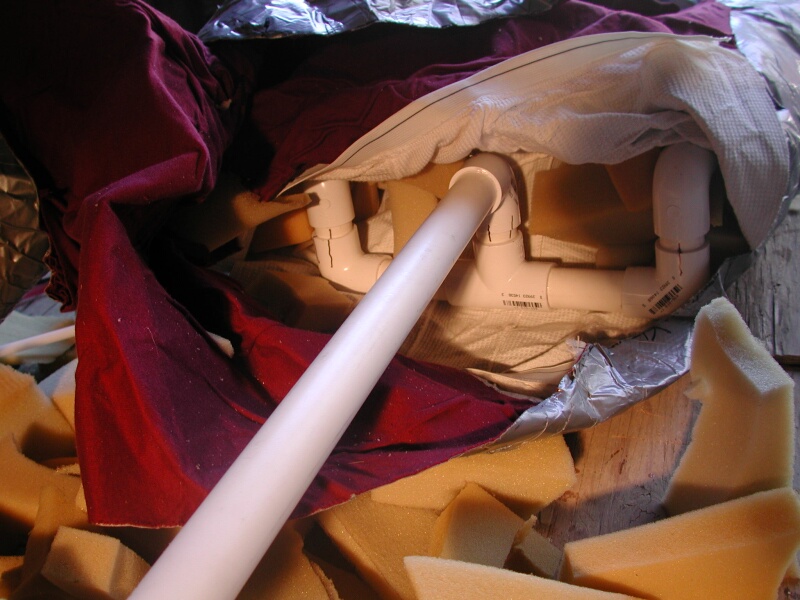
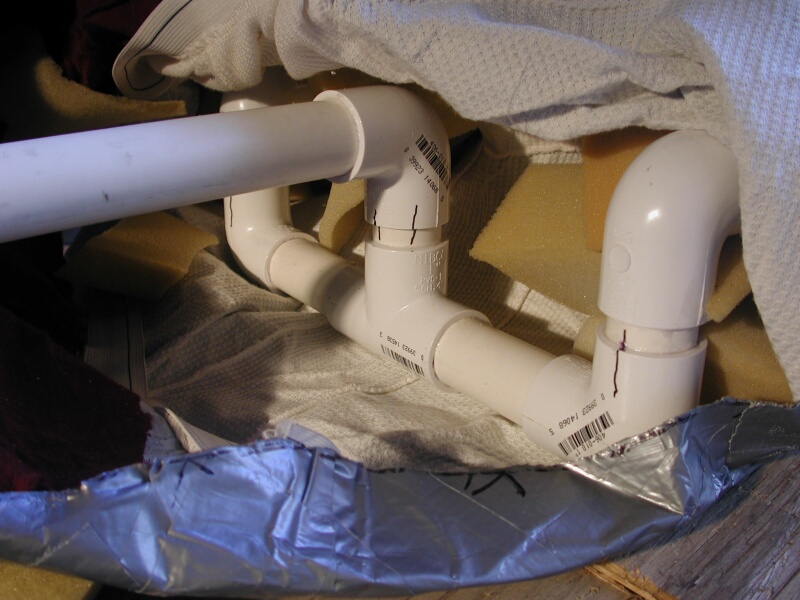
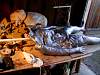
THE SKELETON: -This is OPTIONAL
THE SKELEON: This
can be made from anything. Thick wire, to PVC piping. This is handy
to 'hang' the DTD up to work on a costume on. Basically you want to
make a square for the torso, then straight sections for arms and legs
(sort of like a Hang Man look). Another thing you can do is tape a hanger
inside the shoulder/neck area of the DTD so you can hang it up without
having to make a whole skeleton.
If you don't want to make a skeleon, you can just stuff the DTD as is. A strong wood hanger is helpful to hang it up while you work.
You can use Polyfil, newspaper, or even scraps of foam to stuff a DTD.
Start with the feet. Stuff them REAL tight, as you want this to be a
good solid section. Then slowly work yourself up the legs, and tape
the cut area as you go, making sure you line up the X's you drew on
the duct tape. Keep stuffing and taping until you get to the collar.
Tape that closed then Cap It with zig-zags of duct tape (like you did
to the body) Voila, Done!
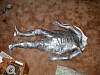

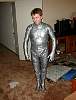
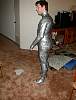
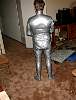
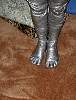
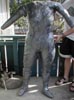
THE FINISHED DUCT TAPE DUMMY:
(Note: I didn't have any pics of the actual finished DTD, so I used
another one, a female)
Shows Front, Side, and Back of a stuffed Dummy. No skeleton, and no
hands were done on this one so yours might look slightly different depending
on what kind of DTD you end up making.
Thanks to Kyreeth for being a guinea pig.
|